
Last updated November 15, 2026
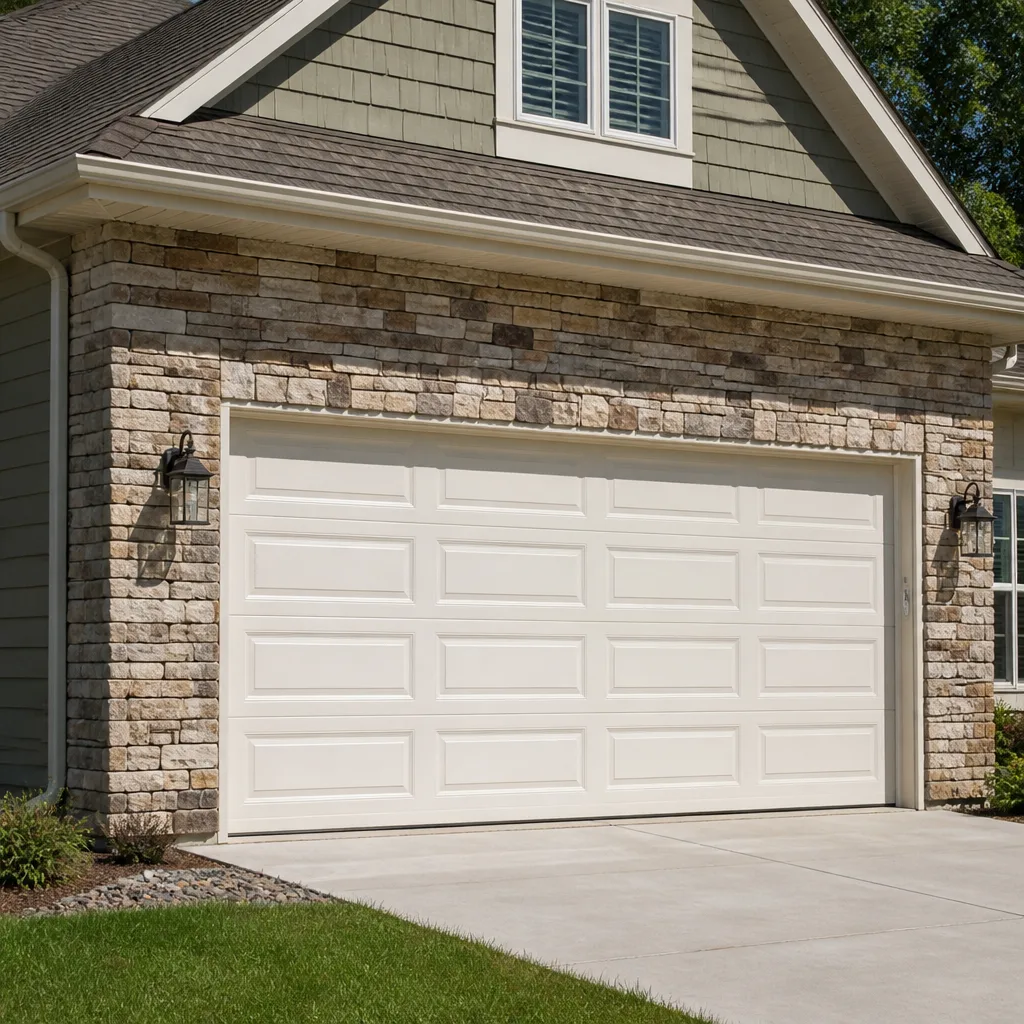 Raised-panel steel
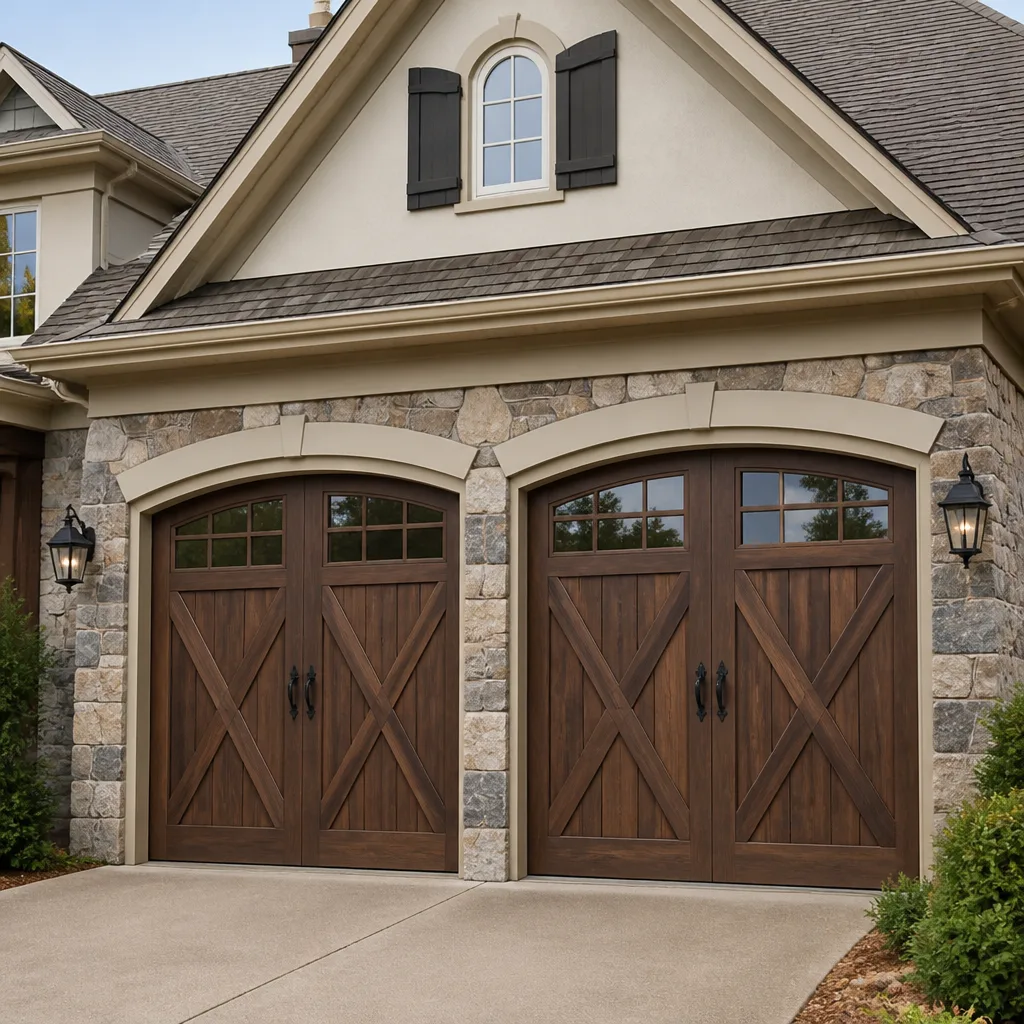 Carriage house
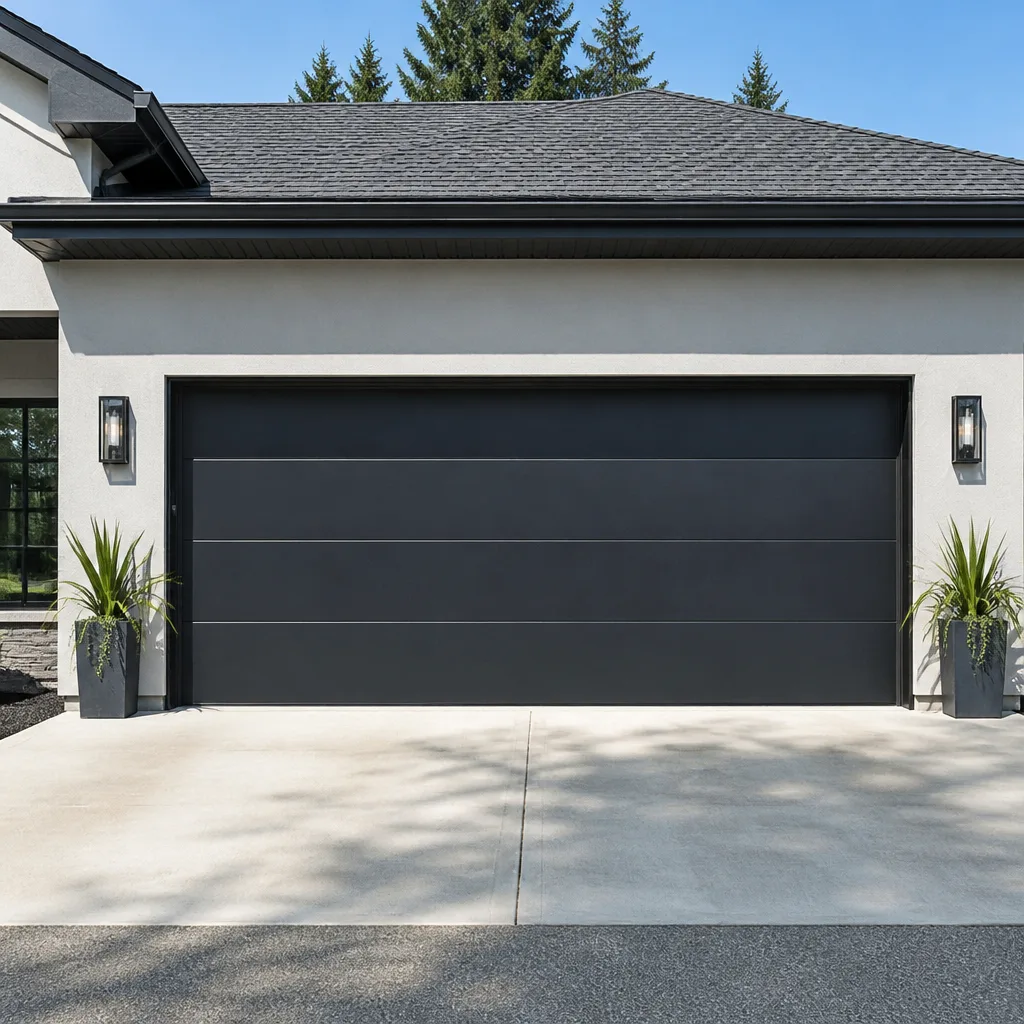 Modern flush
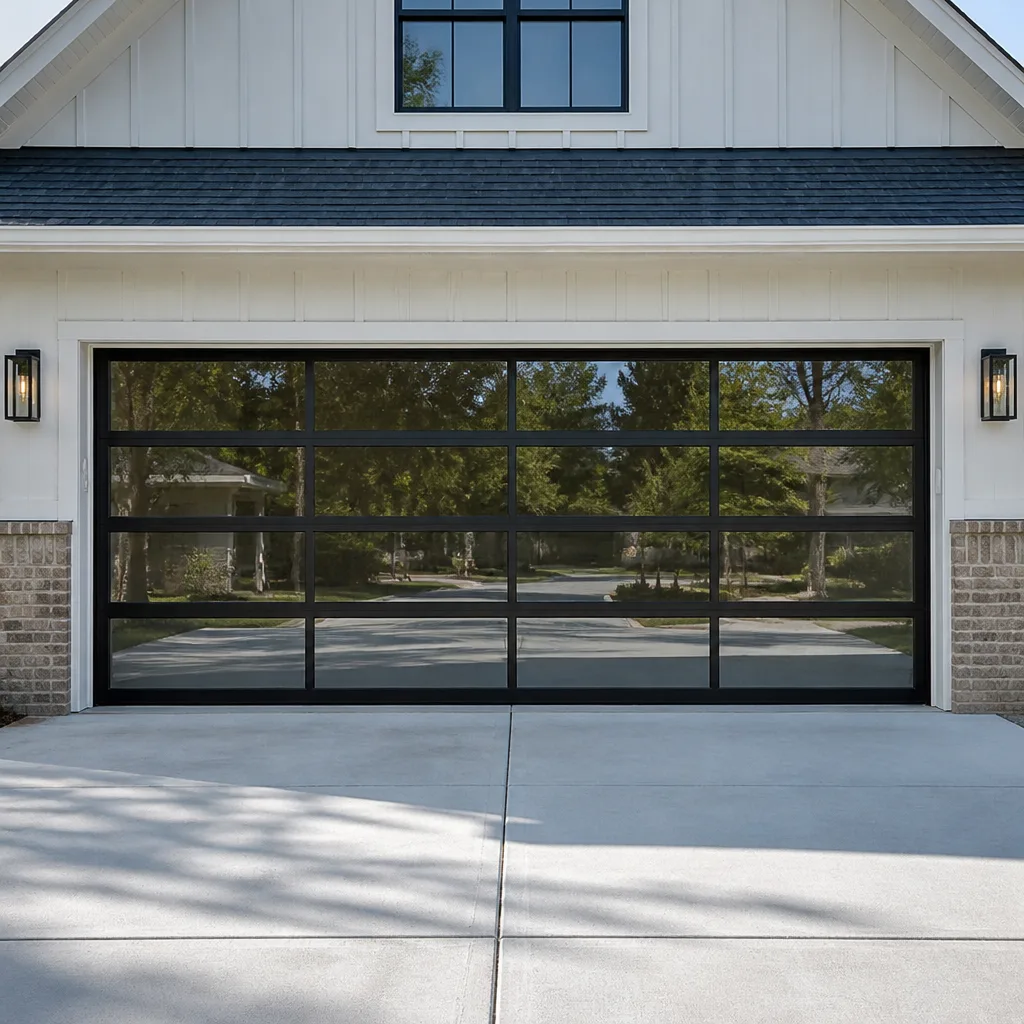 Full-view glass
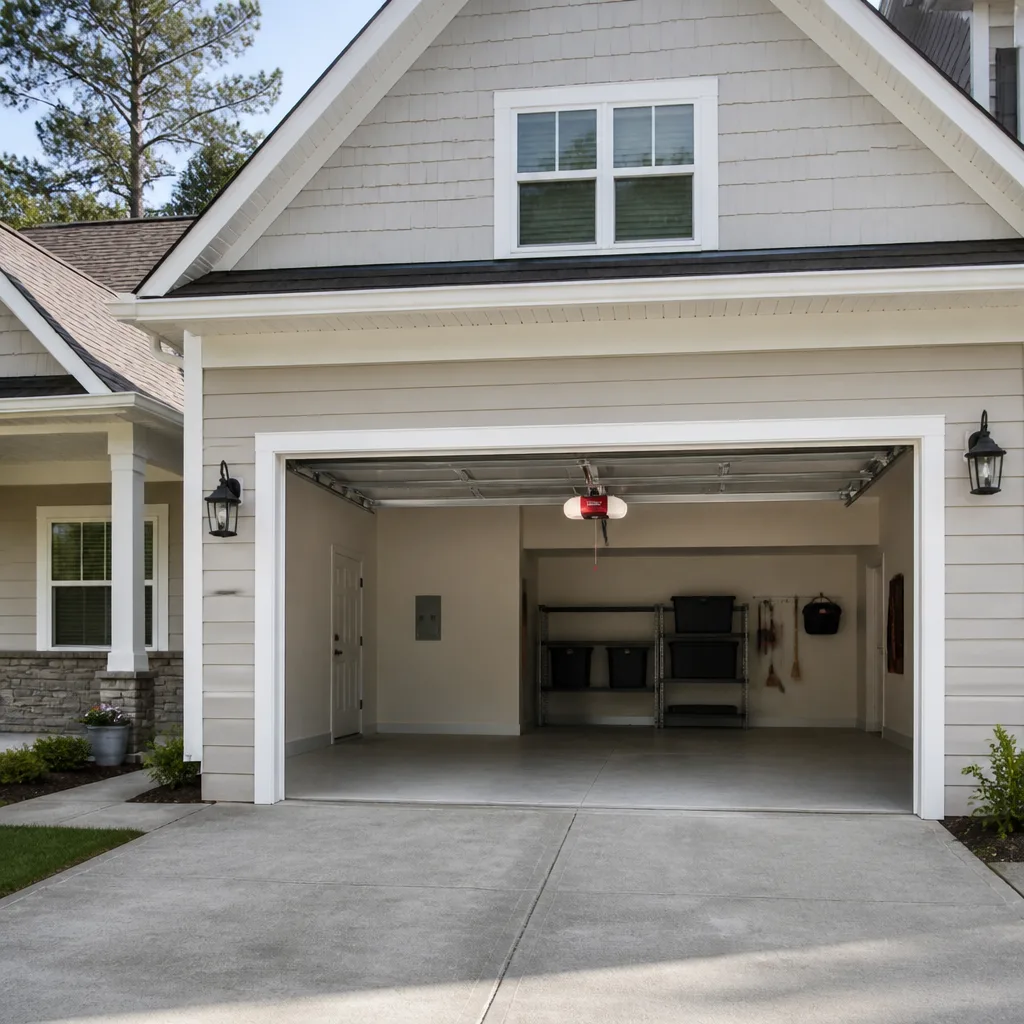 LiftMaster openers
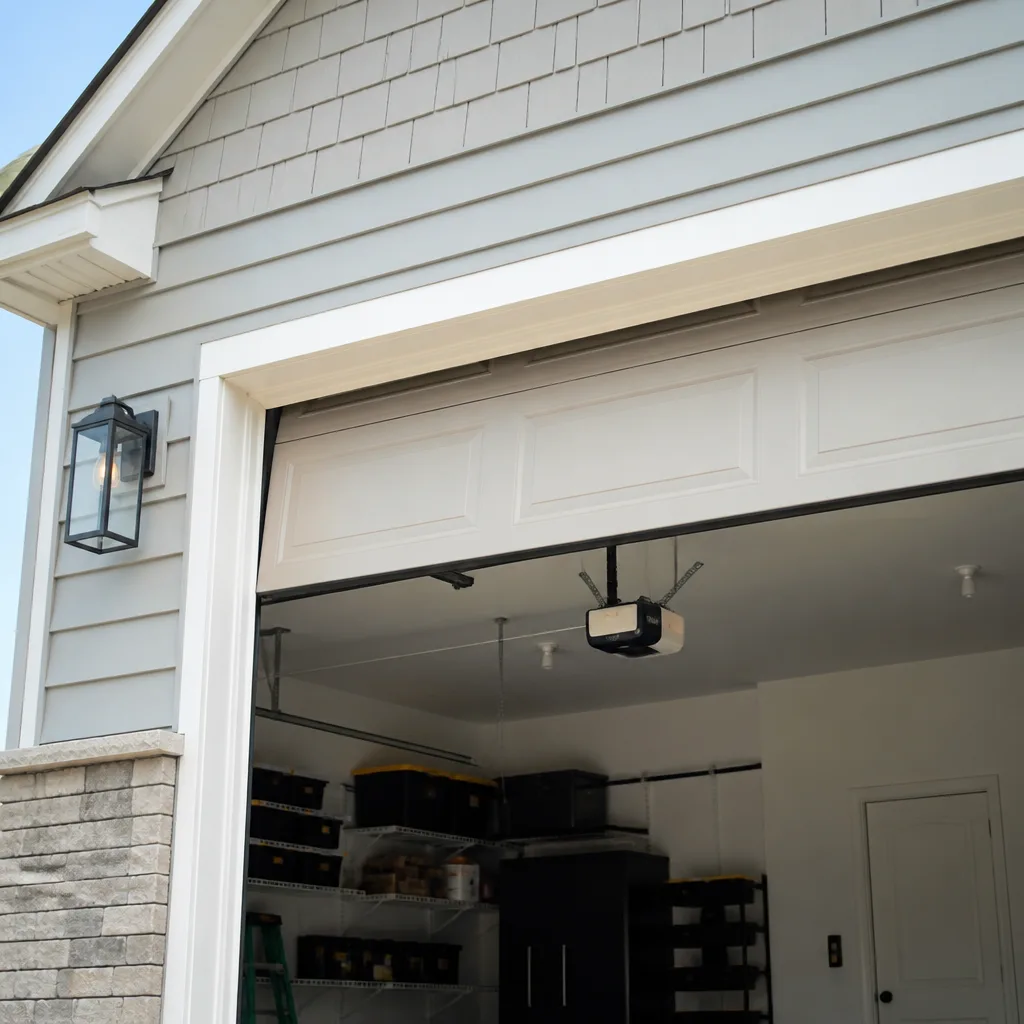 Chamberlain openers
Full 25-point door and opener safety check with every visit - springs, cables, rollers, tracks, and your LiftMaster or Chamberlain opener included
You get a price before we start. It does not change when the pro arrives.
Get your free estimateGarage Door Repair Maintenance Checklist for Hillsboro Homeowners
The most common outcome of following a generic maintenance checklist is an over-lubricated track that collects dust, grit, and pollen until the rollers drag worse than they did before you started. That’s the problem with most checklists: they tell you to lubricate moving parts and stop there. They don’t tell you which parts. They don’t tell you which ones to leave alone. And they don’t tell you what a healthy garage door actually looks and sounds like, so you have no baseline to judge against. This guide fixes that. You’ll get the specific tolerances, sounds, and visual cues to check in your own Hillsboro garage, which tasks are genuinely safe to handle, and which ones you should leave to someone trained to work around high-tension springs.
Quick Answer
A garage door maintenance checklist in Hillsboro is a 25-minute seasonal inspection covering lubrication of hinges, rollers, and the opener rail (never the tracks), a balance and spring-tension test done without touching the springs, a weather-seal inspection suited to wet Pacific Northwest winters, and a cable and hardware inspection. You can safely handle the lubrication, the seal check, and the balance test yourself. Anything involving springs, cables, or the opener’s internal gearing should go to a trained technician.
Styles & brands we work with
- Raised-panel steel
- Carriage house
- Modern flush
- Full-view glass
- LiftMaster openers
- Chamberlain openers
Table of Contents
- What to lubricate on a garage door, and what to never lubricate
- How to test spring tension safely without touching the springs
- Weather seal inspection for Hillsboro’s wet winters
- The cable inspection sequence that catches fraying early
- Opener checks: safety sensors, force settings, and smart-home connections
- How long each task actually takes
- A seasonal schedule built for western Washington County weather
- When a checklist item becomes a service call
What to lubricate on a garage door, and what to never lubricate
Here’s the part most checklists get wrong. The tracks should never be lubricated. Tracks are guides, not bearings. When you spray them with silicone or white lithium grease, the oil becomes a magnet for the grit that blows in every time the door opens. Within a few weeks, you have a sticky film inside the track that catches the rollers instead of letting them glide, and the door starts to judder. If your tracks are already greasy, wipe them clean with a dry cloth and leave them bare.
What does need lubrication, and with what:
- Hinges – a few drops of white lithium grease or a purpose-made garage door lubricant at each pivot point, once or twice a year.
- Rollers – the bearing inside each roller, not the wheel surface. A dry silicone spray penetrates better than grease here.
- Opener rail and chain or belt – check the manufacturer’s guidance. LiftMaster and Chamberlain belt-drive units usually need very little; chain drives want a light coat of the lubricant specified in your manual.
- Torsion spring coils (not the winding points) – a light spray across the coils reduces friction and noise. Never put a tool on the winding cone.
Don’t reach for WD-40 as a lubricant. It’s a water displacer, not a long-term lubricant, and it dries out the very surfaces you’re trying to protect. A $10 can of proper garage door lubricant does the job correctly. We work on Wayne Dalton, Craftsman, Raynor, and LiftMaster systems regularly, and in our experience the doors that fail earliest are usually the ones that got the wrong product in the wrong place.
How to test spring tension safely without touching the springs
Garage door springs are under enough tension to cause serious injury, so this test is about observing, not touching. You’re looking for clues that the door isn’t balanced. A balanced door should stay put at any point you leave it, halfway open or three-quarters open, without drifting.
- Disconnect the opener first. Pull the red emergency release handle so the door moves by hand only.
- Raise the door to waist height. Lift it slowly. It should feel heavy for the first foot or two and then lighten as the springs take over. A door that stays heavy the whole way up has weak or broken springs.
- Let go at halfway. The door should hold. If it sags down, the springs are losing tension. If it drifts up on its own, they may be over-wound.
- Look at the springs themselves. On a torsion setup, check the coil above the door for a visible gap – a two-inch separation means a broken spring. On extension springs, look for a stretched, deformed coil.
- Reconnect the opener by pulling the release cord toward the door until it clicks back into the carriage.
What you’re not doing is adjusting tension. Twisting a winding cone with a pair of screwdrivers is how homeowners end up in the emergency room. If the balance test fails, that’s a call to someone qualified, not a DIY project. In our experience with Hillsboro homes, doors that fail the halfway test almost always need a spring replacement rather than a simple adjustment.
Weather seal inspection for Hillsboro’s wet winters
Hillsboro’s wet season runs long. From late fall through early spring, the door faces rain driven sideways by wind, and the seals are the only thing keeping that water out of your garage. A failed bottom seal lets water pool under the door, rusts the bottom bracket, and can warp the bottom panel over a couple of seasons. So the seal check matters more here than it does in a dry climate.
Here’s what to look at:
- Bottom seal compression test. Close the door and look at the seal from inside. You should see even contact across the full width – a continuous line of compression. If you see daylight under any section, or if the seal flattens to nothing in the middle but bulges at the corners, it’s time to replace it.
- Header seal gap. With the door closed, the top seal should touch the door’s top panel across the full width. A gap wider than about a quarter inch lets wind-driven rain and cold air in.
- Side jamb seals. Run your hand down each side with the door closed. If you can feel air coming through, the seal is worn or misaligned.
- Seal material condition. Vinyl seals stay flexible for years; rubber seals harden and crack. Look for splits, missing chunks, and any section that’s pulled away from the retainer.
Bottom seals on a standard single-car door are a straightforward replacement and among the most common fixes we handle in the Hillsboro area. Header and side seals vary more by door type, so it’s worth having a technician look if you’re unsure how yours is retained.
The cable inspection sequence that catches fraying early
Cables are the component most likely to cause a sudden, dangerous failure if you ignore them. They carry the full weight of the door, and a frayed cable can snap with no warning. The good news is that a frayed cable gives you signs long before it fails – if you know where to look.
Step-by-step cable inspection (visual only, never touch a tensioned cable)
- With the door closed, look at each cable where it attaches to the bottom corner bracket. This is where most fraying starts.
- Follow each cable up to the drum at the top. You’re looking for individual wire strands poking out from the braid – a “bird-caged” or “fuzzy” look along any section.
- Check the drums. The cable should sit neatly in the grooves. A cable that’s jumped a groove or wrapped over itself is a fault.
- Look at the cable ends. A cable that’s come loose from its anchor point, or where the crimp fitting looks separated, needs attention.
- Listen. While the door moves (using the opener, not by hand), a sharp “pop” or “snap” noise as it travels is a sign of a cable catching or a drum misbehaving.
If you spot fraying, stop using the door until a technician has looked at it. Continuing to run a door on a damaged cable is how a routine repair becomes an emergency. For any cable issue in Hillsboro, a trained hand is worth the call – cables are under the full door load and can cause serious injury. Our garage door repair team regularly handles cable replacement alongside spring work.
Opener checks: safety sensors, force settings, and smart-home connections
Modern openers age in ways the door doesn’t. The mechanics may be fine while the opener develops sensor faults, force-setting drift, or connectivity drops. This is where a brand-agnostic approach pays off – a technician who knows LiftMaster, Chamberlain, Genie, and Craftsman logic boards will diagnose by the actual fault, not by guesswork.
What to check on the opener side:
- Safety sensor alignment. The two sensors near the floor should have a solid LED on each. A flickering or dark LED means misalignment, dirt on the lens, or a loose wire.
- Sensor height. Both should sit at the same height, usually about six inches off the floor, and pointing at each other without obstruction.
- Force settings. Modern openers set force automatically, but if the door reverses halfway up for no obvious reason, the opener may need re-learning after a seal replacement or a track adjustment.
- Reverse test. Place a two-by-four flat on the floor under the door and close it. The door should reverse on contact. If it doesn’t, stop using it and call.
- Battery backup. If your opener has one, test it once a year by cutting power at the breaker and running the door from the battery.
- Smart-home connection. If you use a LiftMaster MyQ or Chamberlain app, check that the door reports state correctly after each cycle. Dropped connections usually trace to Wi-Fi signal or a firmware issue.
For sensor faults, force-setting issues, or a smart opener that won’t connect, our garage door opener repair service covers every major drive type and smart-home-compatible system.
How long each task actually takes
None of this is a weekend project. A full seasonal inspection, done once properly, is about 25 minutes from start to finish. Here’s how the time breaks down.
| Task | Time | Frequency | DIY or pro |
|---|---|---|---|
| Lubricate hinges, rollers, opener rail | 5 minutes | Every 6 months | DIY |
| Balance test (release and lift) | 3 minutes | Every 6 months | DIY |
| Visual spring check | 1 minute | Every 6 months | DIY (visual only) |
| Bottom seal compression test | 3 minutes | Every 6 months, more often in fall | DIY |
| Header and side seal check | 3 minutes | Every 6 months | DIY |
| Cable inspection (visual) | 4 minutes | Every 6 months | DIY (visual only) |
| Opener sensor and reverse test | 4 minutes | Every 6 months | DIY |
| Track cleaning (dry cloth) | 2 minutes | Every 6 months | DIY |
| Tighten hinge and bracket bolts | 3 minutes | Every 12 months | DIY |
| Spring adjustment or replacement | 30-60 minutes | As needed | Pro |
| Cable replacement | 30-45 minutes | As needed | Pro |
| Bottom seal replacement | 20-30 minutes | Every 3-5 years | Pro (or DIY with experience) |
That’s a two-hour job once a year, or about 25 minutes twice a year if you split it into a spring and fall pass. The pro work is scheduled when the checklist reveals a fault. The DIY portion is where a lot of maintenance value sits, and it costs nothing. Our technicians have up to 9 years of experience with these systems, and we always recommend starting with the free checks because they catch most of what goes wrong.
A seasonal schedule built for western Washington County weather
Hillsboro’s climate shapes what needs attention and when. The wet season runs from roughly October to April, with rain, wind, and the occasional ice storm. Summer is dry and can see significant temperature swings between morning and afternoon. A garage door in this climate sees more moisture stress than a door in a dry inland market.
Here’s a schedule that fits the local weather:
- Early October (before the wet season) – full inspection. This is the most important pass. Check the bottom seal for compression, the header seal for gaps, and the cables for fraying. Replace any worn seal before the rain arrives.
- Mid-January (mid-wet season) – quick check. Confirm the seals are holding, look for water pooling inside the garage door line, and re-test the balance.
- Late April (as the wet season ends) – full inspection again. Clean the tracks dry, lubricate hinges and rollers, tighten any bolts that loosened over winter, and test the opener sensors.
- July or August – listen for new noises. Heat can cause metal to expand and reveal loose hardware. A quick tightness pass on the hinges and brackets catches it.
Hillsboro neighborhoods like Jackson Bottom and the older parts of downtown see more wind-driven rain on west-facing doors than homes tucked behind the tree cover further south. If your garage door faces the prevailing weather, add a mid-season seal check. If you’re in one of Hillsboro’s newer developments and your door is under five years old, once a year is usually enough.
Common Mistakes to Avoid
- Lubricating the tracks. This is the number one mistake. Tracks should stay clean and dry. Grease in the track collects grit from every open and close, which accelerates roller wear. Wipe them clean; don’t spray them.
- Using WD-40 on hinges and rollers. WD-40 displaces water but doesn’t lubricate long-term, and it can dry out the surfaces it touches. Use a proper garage door lubricant or dry silicone spray.
- Testing balance with the door connected to the opener. The test only tells you something if the door is disconnected. Pull the release cord first, then do the halfway test.
- Adjusting spring tension yourself. Winding cones are under hundreds of pounds of tension. This is the single most dangerous part of a garage door system. If the balance test fails, stop and call.
- Ignoring a small bottom seal gap because “it’s just a bit of water.” In Hillsboro’s wet winters, a small gap lets water pool under the door. Over a couple of seasons, that water rusts the bottom bracket and warps the bottom panel – turning a $50 seal into a panel replacement.
- Running the door on a frayed cable. A frayed cable is a warning, not a nuisance. Cables carry the full door load and can snap without further warning. Stop using the door until a technician checks it.
- Assuming a noisy door needs a replacement. Most noise traces to loose hardware, worn rollers, or dry hinges. A $20 lubrication pass and a tightening pass fixes most of it. Replace the parts that are actually failing, not the whole system.
See the difference
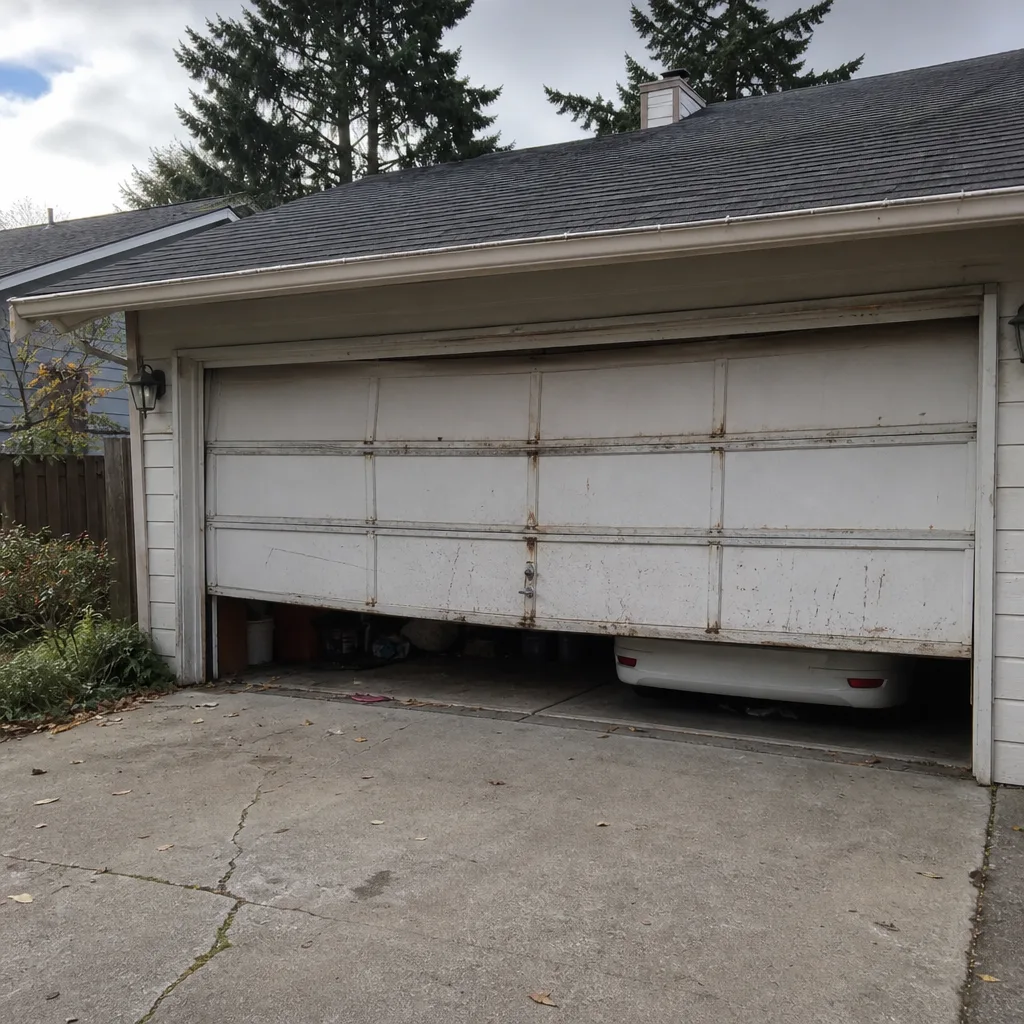 Before
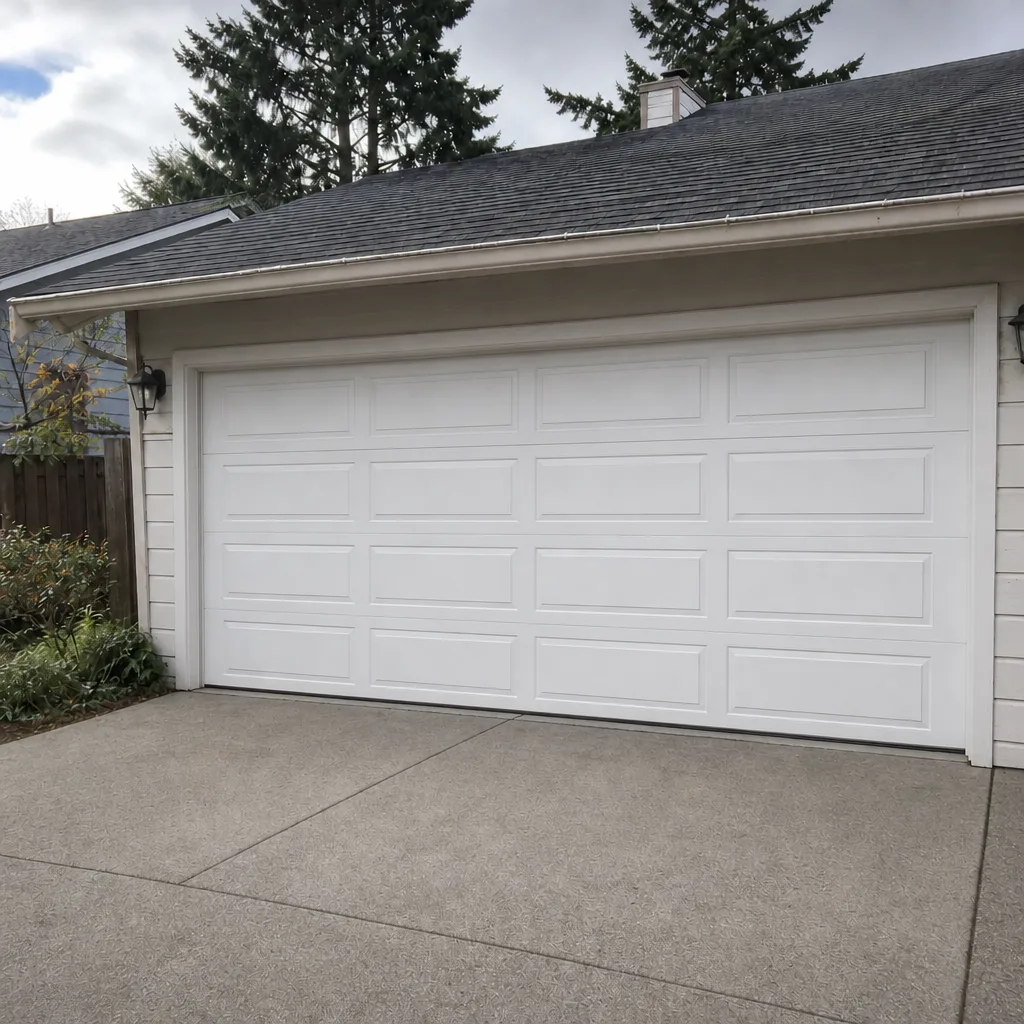 After
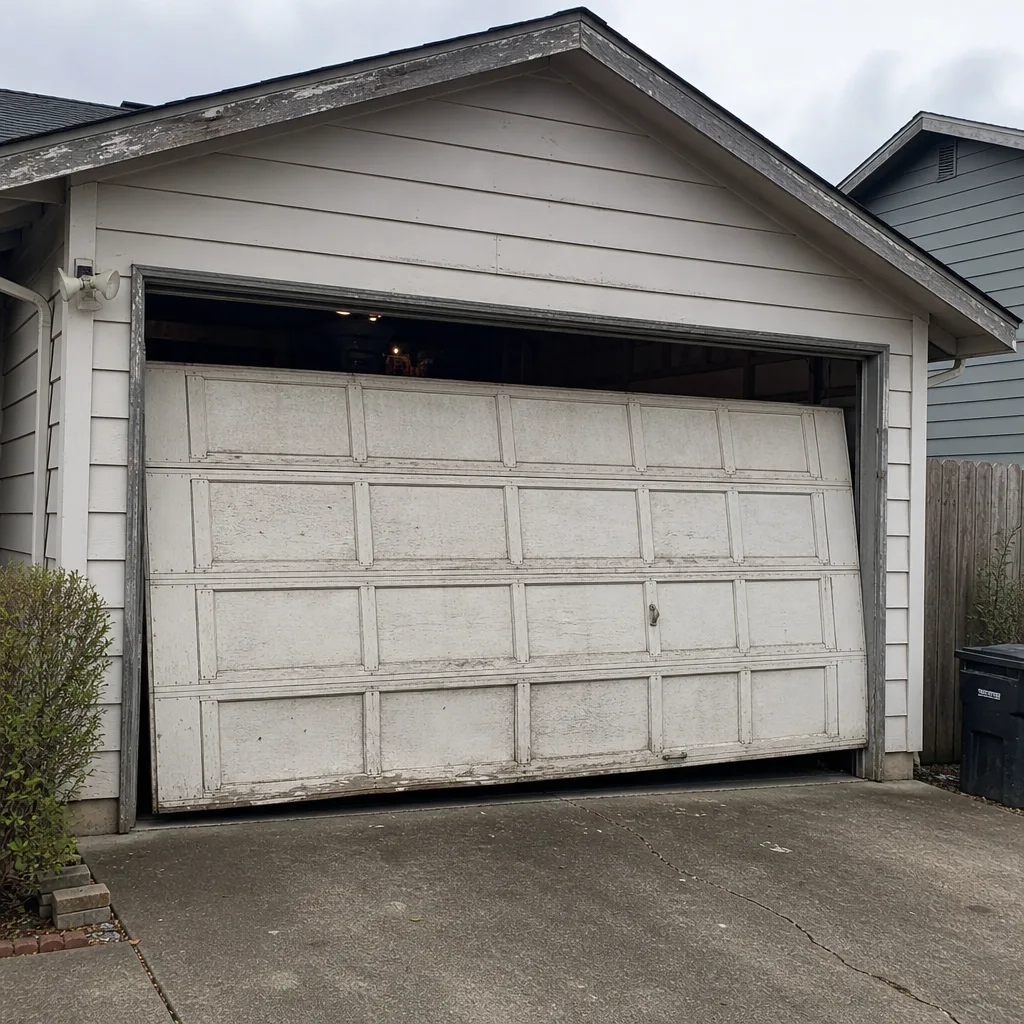 Before
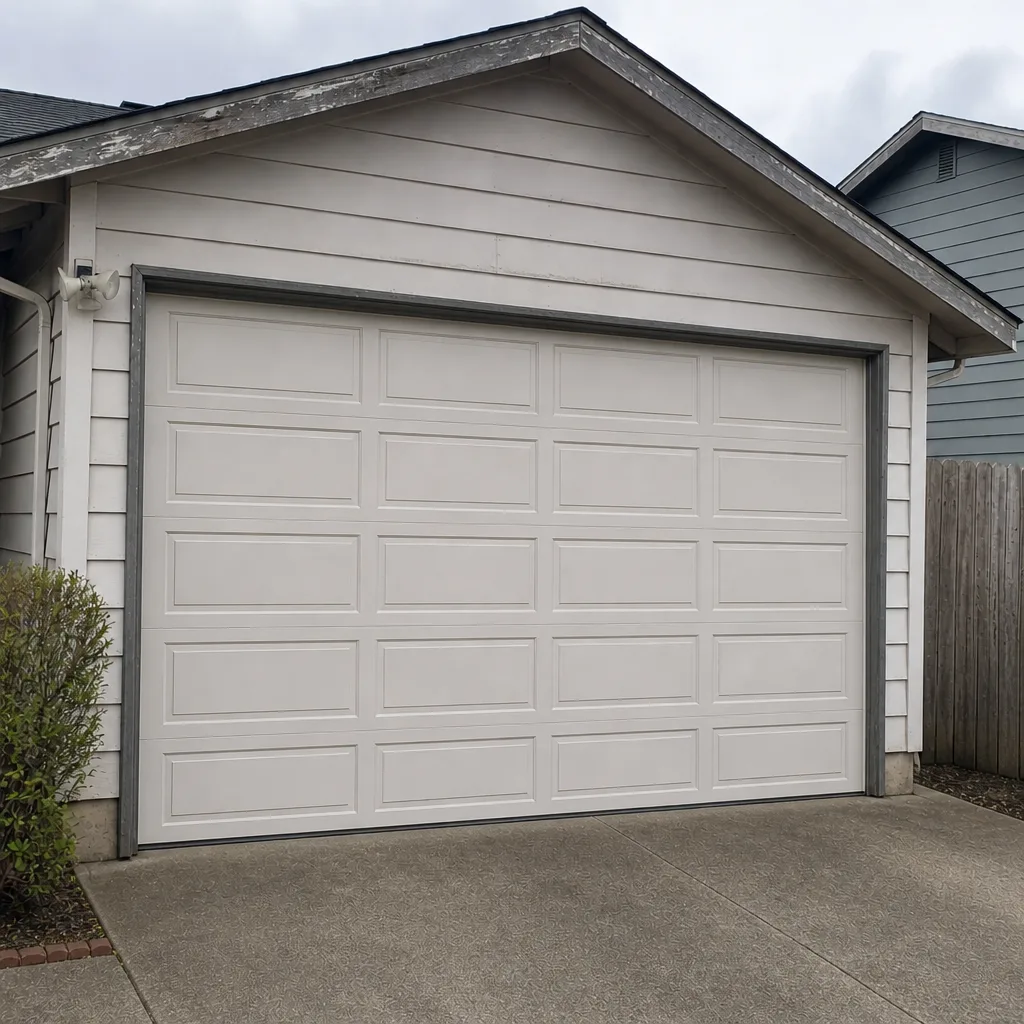 After
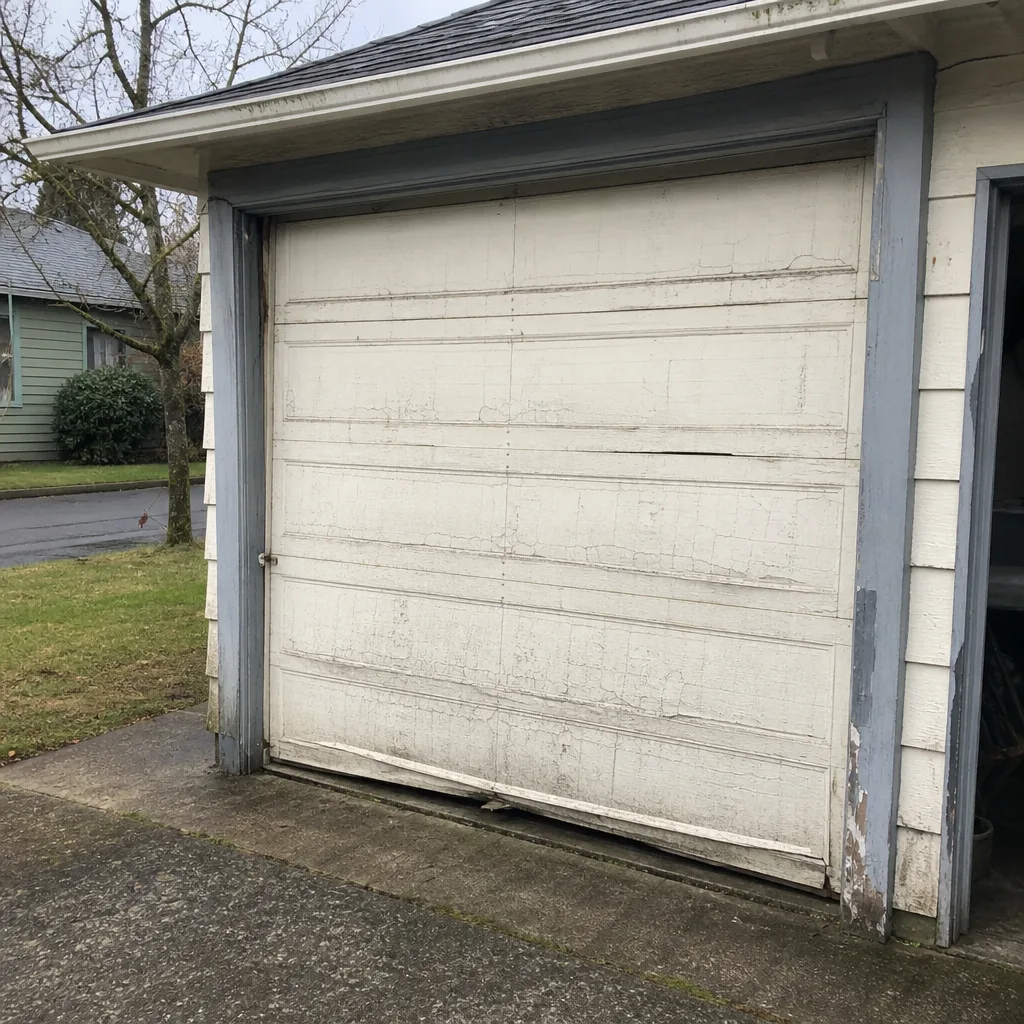 Before
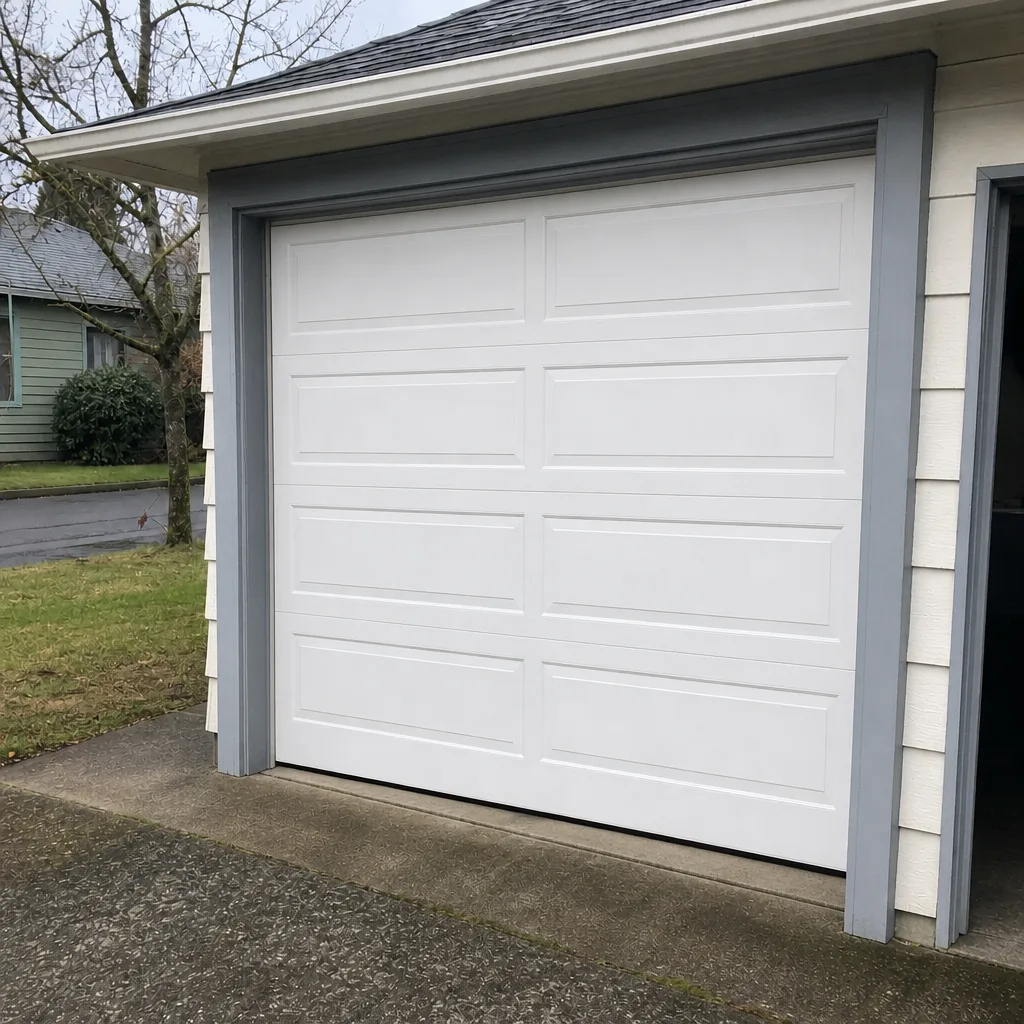 After
When to Call a Professional
Most checklist items are safe to handle yourself. The line is clear: anything under tension, anything involving the opener’s internal gearing, and any fault that could injure you or someone in the household. Call a pro if the door fails the halfway balance test, if you spot a gap in a torsion spring, if a cable looks frayed or hangs unevenly, if the door reverses halfway up for no reason, if the opener runs but the door doesn’t move, or if the door closes crookedly or comes off its track.
Blackwell Garage Door Repair offers free estimates in Hillsboro for any of these issues. We work on what you have, whether that’s a 25-year-old Craftsman chain drive or a modern LiftMaster belt-drive with smart-home integration. Call (888) 534-4142. We answer 24/7. Fast dispatch from 7am to 7pm, Sunday through Friday.
Frequently Asked Questions
Twice a year is the right cadence for most Hillsboro homes – once in early October before the wet season, and once in late April as the wet season ends. The October pass is the more important one because it’s your chance to replace worn weather seals before a long stretch of wind-driven rain. If your garage door faces west and takes the brunt of the weather, add a quick mid-season seal check in January.
The balance test is the single most valuable check. It tells you in about three minutes whether your springs are doing their job, whether the door is safe to keep using, and whether you need a professional call. A door that fails the halfway test almost always needs a spring replacement, and that’s the repair that most commonly turns into an emergency if it’s ignored. Do that check first, every time. Call (888) 534-4142 if the test fails – estimates are free.
No. Never lubricate the tracks. Tracks are guides, not bearings. Any grease or oil you put in them attracts dust, grit, and pollen, and it turns a clean guide into a sticky surface that drags the rollers. Tracks should be wiped clean with a dry cloth and left bare. If yours are already greasy, wipe them down with a dry rag before doing anything else. Lubricate the hinges, rollers, and opener rail instead – those are the parts that need it.
You can usually tell without touching anything. If the door is heavy to lift by hand from start to finish, or if it drops instead of holding when you let go at the halfway point, the springs are the likely cause. On a torsion setup above the door, look for a visible gap in the coil – a two-inch separation means a break. On extension springs, look for a stretched or deformed coil. Do not try to adjust or replace springs yourself; they’re under enough tension to cause serious injury. Call us at (888) 534-4142 for a free estimate.
Usually an opener force-setting issue, a misaligned safety sensor, or a door that’s binding in the track. Modern openers from LiftMaster, Chamberlain, and Genie re-learn force automatically, but they need re-calibration after a seal replacement or a track adjustment. If the door reverses at a consistent point on the way up, it’s most often a track fault or a worn roller. A quick diagnostic usually finds it in a few minutes.
The mechanical checklist is the same. The difference is an extra step for connectivity – check that the app reports door state correctly after each cycle, and confirm the door still works from the wall button if the Wi-Fi drops. If the opener won’t connect at all after a router change, check that the hub is on the 2.4GHz band; most smart openers don’t use 5GHz. If the connection drops mid-cycle or the app shows the wrong state, that’s a firmware or logic board issue worth a call.
The Bottom Line
Most of a garage door maintenance checklist is safe, quick, and free – and about 25 minutes twice a year covers it. The value is in knowing what to look for and what to leave alone. Lubricate the right parts, keep the tracks dry, test the balance from a distance, and inspect the seals before each wet season. When the checklist turns up a fault under tension – springs, cables, or opener internals – that’s a professional call, not a DIY extension. The checklist keeps the routine items on track so the repair items stay rare.
If your inspection turns up something, call Blackwell Garage Door Repair at (888) 534-4142 for a free estimate. We work on what you have, from opener to spring to panel, and every technician we send is a garage door specialist. That’s what we mean when we say garage doors are all we do in Hillsboro.
Written by the team at Blackwell Garage Door Repair.