
Last updated November 15, 2026
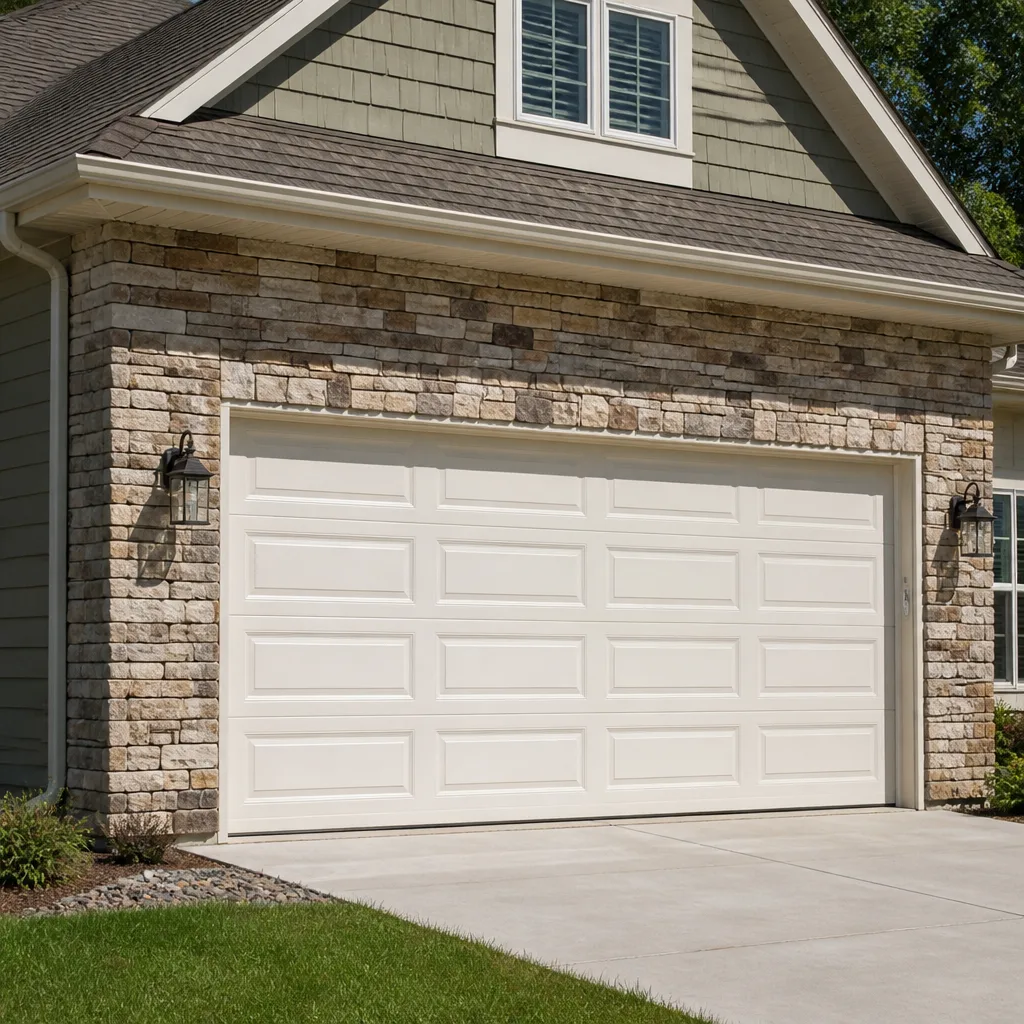 Raised-panel steel
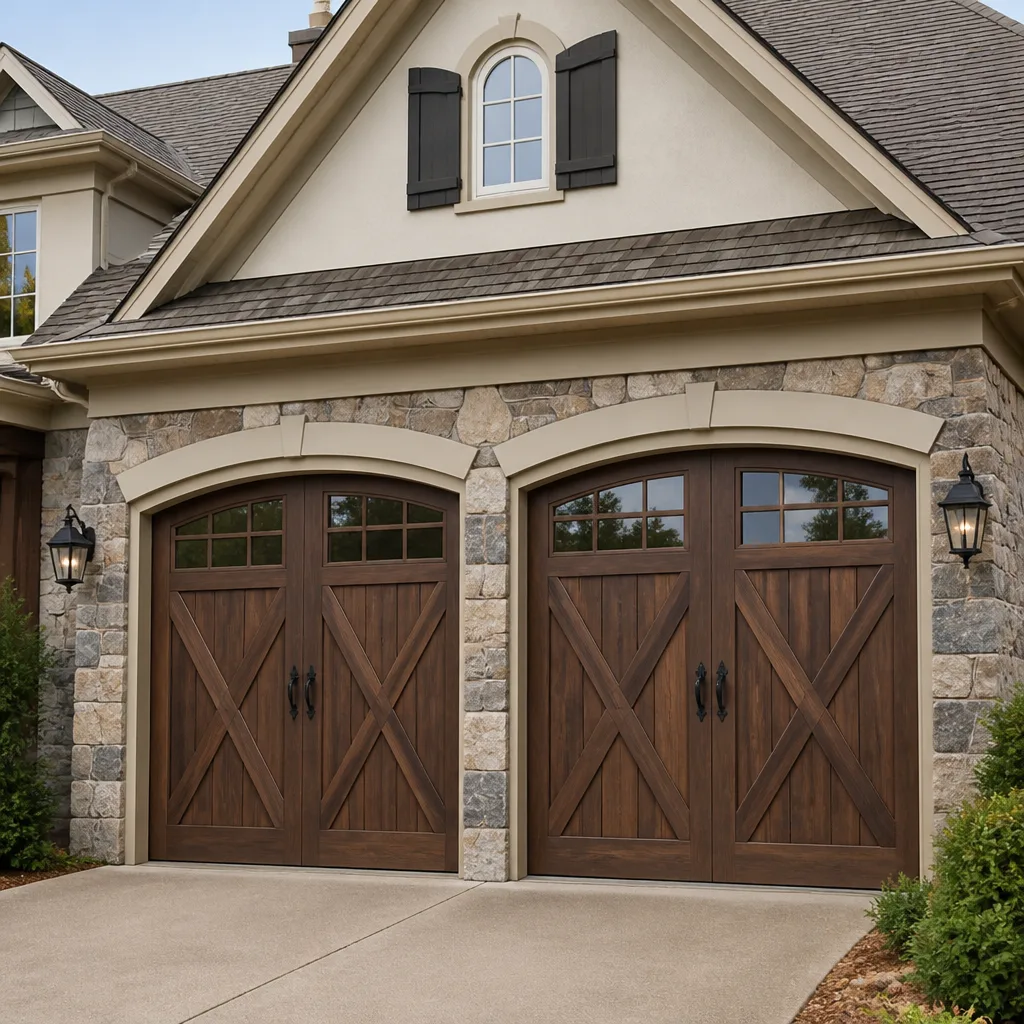 Carriage house
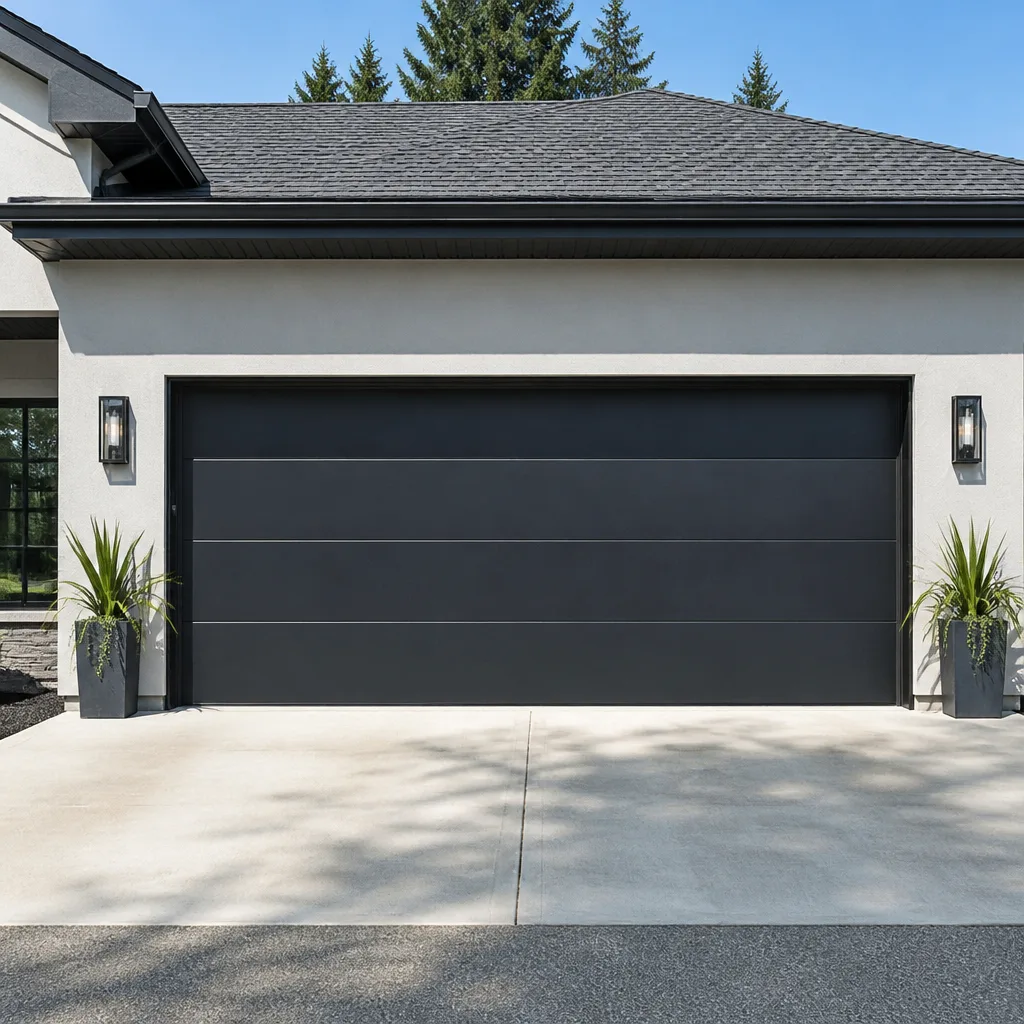 Modern flush
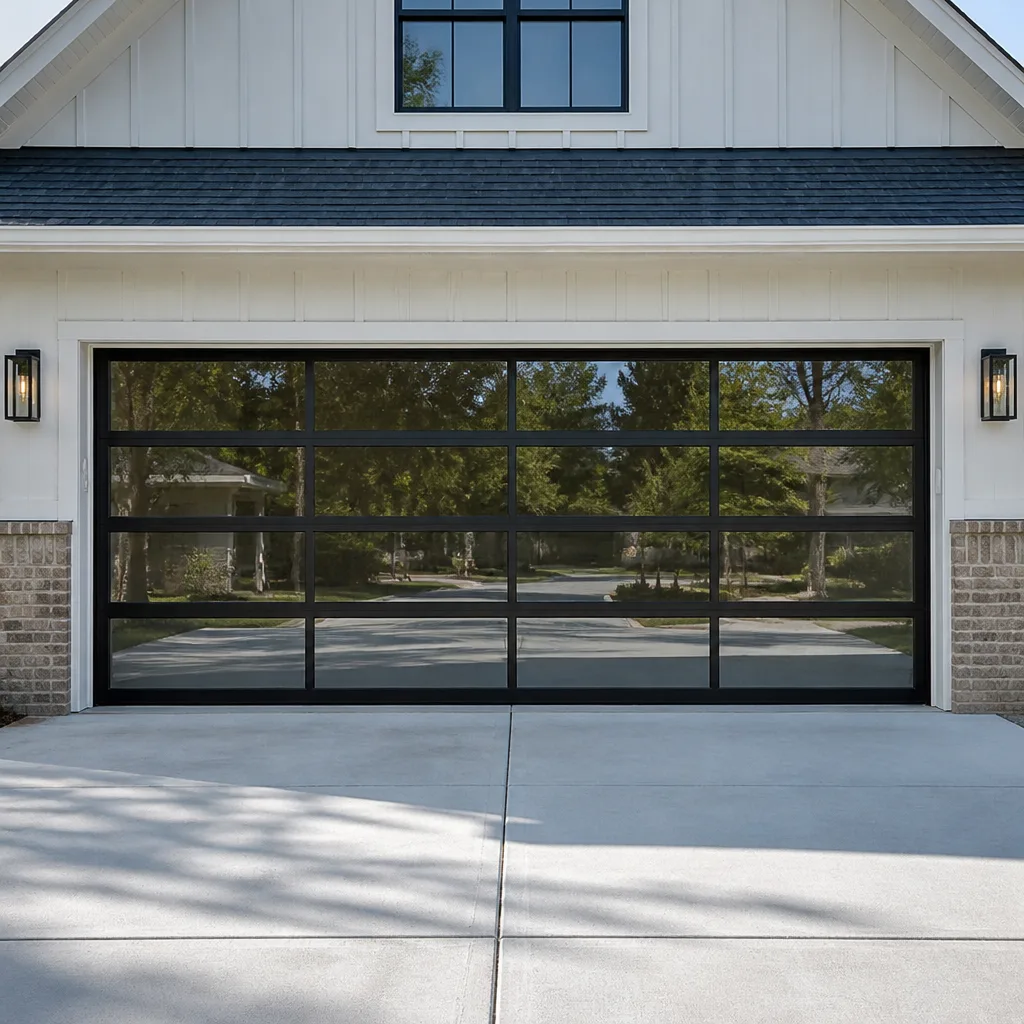 Full-view glass
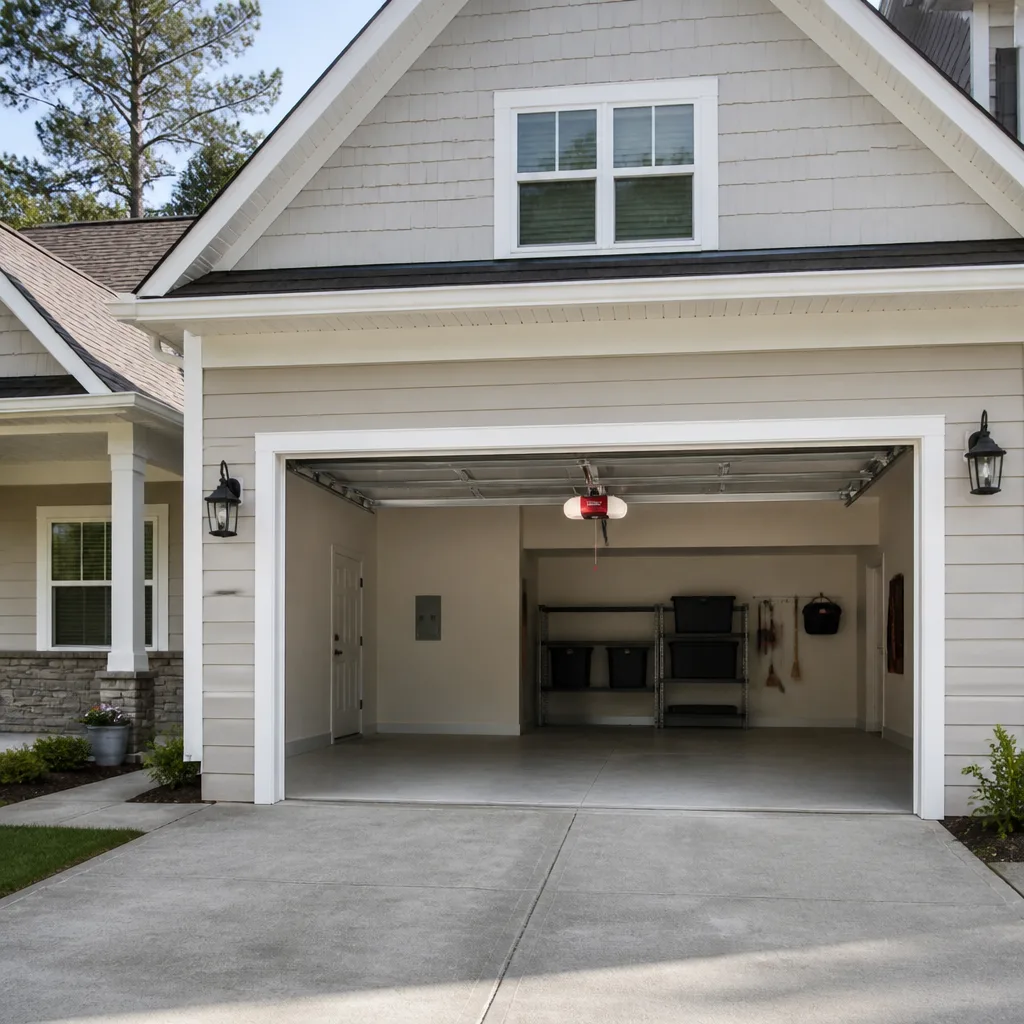 LiftMaster openers
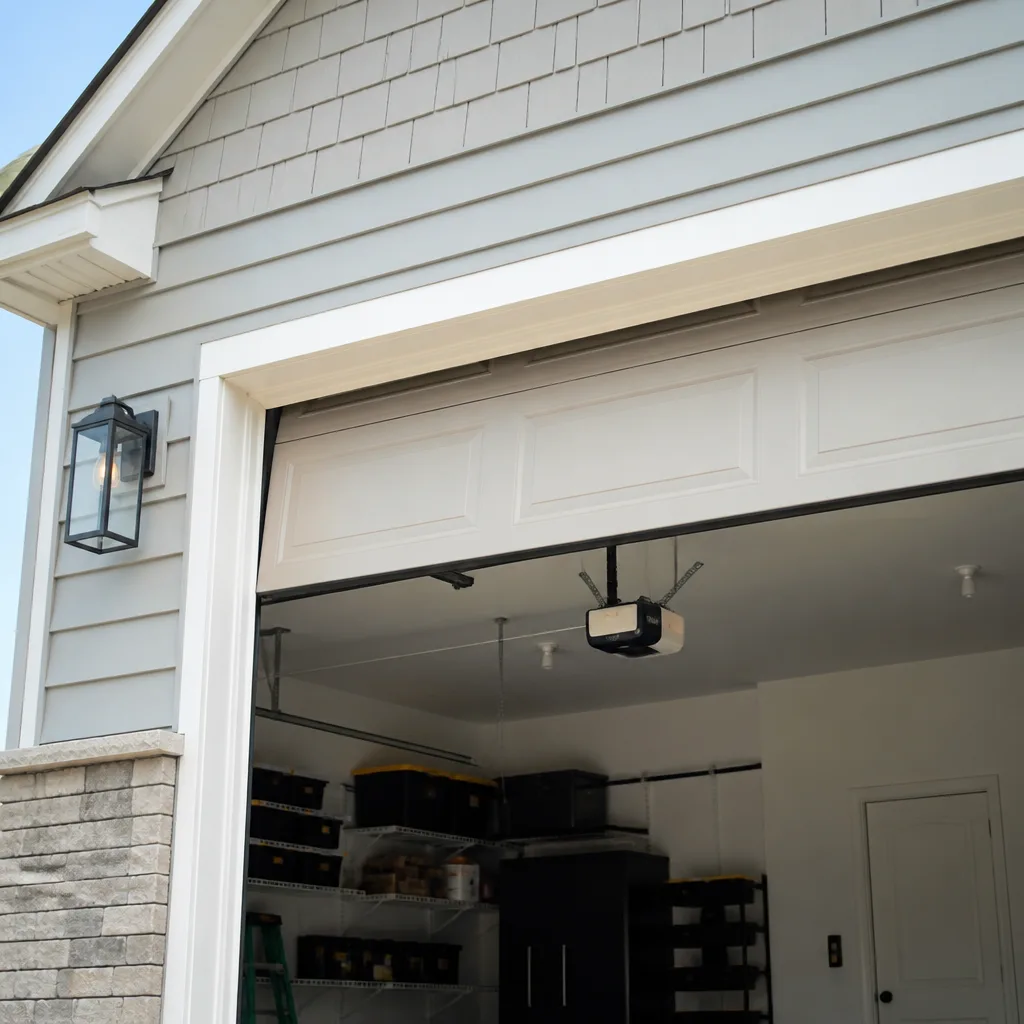 Chamberlain openers
Full 25-point door and opener safety check with every visit - springs, cables, rollers, tracks, and your LiftMaster or Chamberlain opener included
You get a price before we start. It does not change when the pro arrives.
Get your free estimateDIY vs Professional Garage Door: The Hillsboro Homeowner’s Decision Guide
Replacing the bottom seal yourself is a reasonable Saturday project. Adjusting a torsion spring yourself puts your hands inches from a component holding 150 to 200 pounds of stored torque. Those aren’t the same category of task, and every guide that treats “garage door DIY” as a single yes-or-no decision is skipping the part that actually matters. In Hillsboro, where a lot of homes have attached garages that double as workshops and storage, the stakes are practical as well as physical. This guide draws the line task by task so you know exactly which projects are safe for a homeowner and which ones belong to a trained technician.
Styles & brands we work with
- Raised-panel steel
- Carriage house
- Modern flush
- Full-view glass
- LiftMaster openers
- Chamberlain openers
Quick Answer
Some garage door work is genuinely safe to do yourself: replacing the bottom seal, lubricating hinges and rollers, reprogramming a remote, and resetting an opener’s travel limits. Everything involving torsion springs, extension springs, lift cables, or track realignment should go to a professional, because those components store enough energy to cause serious injury and a bad repair is expensive to undo. The right question isn’t “can I fix my door,” it’s “which part of it am I touching.”
Table of Contents
- The Task-by-Task Matrix: What’s Safe and What Isn’t
- What Actually Happens When Spring Work Goes Wrong
- How to Diagnose Your Door Like a Technician
- Oregon Product Liability and Your Insurance Position
- The Real Cost Comparison, DIY Included
- Opener Repairs: A Different Kind of DIY Question
- Hillsboro Conditions That Affect Your Door
- Common Mistakes to Avoid
- When to Call a Professional
- Frequently Asked Questions
- The Bottom Line
The Task-by-Task Matrix: What’s Safe and What Isn’t
Treat each component on your door as its own decision. The physical construction of a garage door means a few parts are simple low-energy hardware and a few are high-energy mechanical systems. That split is what should guide you, not a general sense of whether you’re “handy.”
Genuinely DIY-safe tasks
- Replacing the bottom weather seal. A rubber or vinyl seal slides or screws into the bottom retainer. It’s low-force, low-height, and the failure mode is a drafty garage, not an injury.
- Lubricating hinges, rollers, and the torsion bar bearings. A garage door lubricant applied to the moving joints is one of the highest-value maintenance tasks you can do. It reduces noise and wear with zero risk.
- Reprogramming remotes and keypads. Every major brand has a pairing procedure that lives in the manual or on the manufacturer’s site. This is a five-minute job once you know the sequence.
- Replacing a photo-eye sensor that’s gone bad. The sensors mount with two screws and clip to low-voltage wire. This is a safe swap as long as the opener is fully unplugged first.
- Resetting opener travel limits and force settings. Following your opener’s manual for limit adjustment is safe. If the door still won’t close properly after you’ve set it, the problem is mechanical, not electronic.
Tasks that require a professional
- Torsion spring replacement or adjustment. A torsion spring winds a steel bar to hold the full weight of the door. The stored torque is the danger, not the weight.
- Extension spring replacement. Extension springs stretch along the sides of the door and can fail violently if the safety cable isn’t in place or is compromised.
- Lift cable replacement or re-spooling. Cables are under tension whenever the door is closed. A cable that slips off the drum while you’re near it can whip with force.
- Track realignment. Bending or re-mounting track is a structural correction. If the track is out of plumb, the door binds, and bending it without the right reference points usually makes the bind worse.
- Panel replacement on a wound door. Swapping a bent panel requires relieving spring tension first. Skipping that step is where the injury risk climbs fast.
If you’re not sure which side of the line a task falls on, that uncertainty is your answer. Call a specialist. Our technicians credential across the major brands on the market, from LiftMaster openers to Raynor doors, so a diagnostic visit identifies the actual fault rather than the nearest replacement. Those of us who do Blackwell Garage Door Repair work tend to notice when a “DIY gone wrong” call comes in, and it almost always started with a homeowner who was told the task was easy.
What Actually Happens When Spring Work Goes Wrong
Springs fail in predictable, physical ways. Understanding the mechanics builds the respect the component deserves, and it isn’t about fear. Here’s what goes wrong and how, in plain terms.
Torsion spring failure modes. A torsion spring is wound to hold the door weight in balance. When it breaks, the two halves of the coil separate suddenly, releasing stored torque into the torsion bar. If a homeowner is using a winding bar at that moment, the bar can swing with the full force of the remaining tension. Even a damaged spring that hasn’t fully broken can release a winder’s grip during an adjustment. There’s no partial-credit version of this. A wound spring is either handled by a trained technician or left alone.
Extension spring failure modes. Extension springs on older doors store less torque than torsion systems, but they stretch and snap rather than coil and unwind. A snapping extension spring can travel with enough force to damage nearby components or injure anyone within its path. The safety cable that runs through the center of an extension spring is what keeps it from doing that. If the cable is missing, rusted, or improperly routed, the spring’s failure is much more energetic.
The tool gap. Professional spring work uses winding bars rated for the specific wire gauge of the spring. Borrowed screwdrivers, pry bars, and pipe sections are the single most common improvised tool we hear about. They slip. When the tool slips, the winder’s hand is suddenly in the spring’s path, and that’s where most home spring injuries happen.
If your door is on a broken spring right now, do not force it. Disconnect the opener and leave the door in the closed position. That’s a repair for a trained technician, not a same-day DIY project. A call to garage door repair gets the door evaluated and quoted before anything is touched.
How to Diagnose Your Door Like a Technician
A good diagnostic narrows the fault to a single component before any repair begins. When you know which part is failing, you skip the discovery portion of a service call, and the written estimate is tighter as a result. Run this sequence from the door inward, opener unplugged, door in the closed position:
- Stand back and look. Is the door level with the floor? A door sitting crooked at rest usually points to a broken spring or a slipped cable, not an opener problem.
- Check the rollers and hinges visually. Worn rollers crack, chip, or lose their bearing. Hinges that squeal or bind can be lubricated yourself before you call.
- Test the auto-reverse by hand. With the opener unplugged and the door mid-travel, apply moderate downward pressure. The door should stop and reverse. If it doesn’t, that’s an opener safety adjustment, and it’s worth a professional visit before any remote use.
- Inspect the photo-eye sensors. Are both LEDs solid, not blinking? A blinking sensor LED means the beam is blocked or the unit has failed. Clearing the beam or replacing the sensor is a safe DIY step. A sensor that’s solid but still won’t let the door close points to a misaligned bracket.
- Listen to the opener. A grinder or a hum with no movement usually means the motor is running but the drive chain, belt, or screw isn’t engaging. That’s an opener fault, not a door fault.
- Check the torsion bar for a clear break. If you see a gap between the two spring coils, you have your answer. Don’t touch it. Note the position and call it in.
- Note the brand and model. Openers from LiftMaster, Chamberlain, Genie, and Raynor all have different diagnostic light patterns on the back panel. The pattern narrows the fault fast.
That sequence is the same one a trained tech runs on arrival. Our field experience with garage door opener repair in Hillsboro is that half of “opener failures” turn out to be door-side issues that an opener was never built to fight through. Come prepared and your service call is shorter.
Oregon Product Liability and Your Insurance Position
Using a non-approved spring conversion on a torsion system can put you outside the equipment’s manufactured spec, and that can complicate how a claim is handled if something goes wrong later. This is worth understanding before you order a conversion kit online, because not every spring setup is a “one size” swap.
Here’s the general picture. Garage door springs are engineered to a door’s specific weight and balance point. Manufacturers publish replacement guidelines and spring charts for their hardware. When an aftermarket kit changes a torsion system to an extension system (or changes spring gauge, length, or cycle rating), the door’s balance and safety systems are no longer aligned with what the manufacturer specified. If a subsequent failure damages the door, a vehicle, or causes injury, the fact that the equipment was modified off-spec is a question a claims adjuster or liability investigation will ask.
We’re not attorneys and we don’t handle claims. But a straightforward principle applies: the safest path is a replacement spring that matches the door’s original specification. That’s what a trained technician sources, and it’s why off-the-shelf kits are a false economy. If you’re unsure what spring your door originally came with, a professional diagnosis resolves it. For any code or permitting question on structural garage work in Hillsboro, ask the city’s building department directly rather than relying on online guides.
Once a door is back on spec, it holds its balance, the opener cycles without fighting the door, and the safety reverse works as designed. That’s the baseline your insurance position assumes.
The Real Cost Comparison, DIY Included
DIY only looks cheaper until you count the full cost of a realistic attempt. The honest comparison includes the tools you buy, the hours you spend, and the professional call that follows a stalled attempt. Here’s what that looks like side by side for a typical residential door:
What a professional spring repair typically costs
- Single torsion spring replacement: typically $180 to $340 for one spring.
- Matched pair replacement: usually about twice that, since springs are replaced together when they share age and load.
- Lift cable replacement (per cable): typically $120 to $250.
- Roller replacement (per door, full set): typically $100 to $220.
- Diagnostic visit: free estimate in most cases.
- Written estimate: sets the final price before any work begins.
What a realistic DIY attempt costs
- Winding bars: $30 to $60 for a pair that actually fits a residential torsion spring.
- Replacement spring kit: $60 to $150 online, but often not matched to your door’s weight.
- Cable tensioning tools: another $25 to $50 if you attempt cables.
- Time: 2 to 4 hours for the first try, assuming you don’t stall.
- The professional call after a stall: the full repair price, minus nothing.
The arithmetic almost never favors DIY on springs and cables. Three outcomes are common: the job goes perfectly and you saved a few hundred dollars, the job stalls and you pay full professional price after spending the tool cost, or the off-spec spring causes binding that costs more to correct than a proper replacement would have. When you weigh all three with equal probability, the professional route is the better bet.
Blackwell gives free estimates, so the price is quoted and agreed before any work starts. There’s no discovery billing and no surprise invoice. Call (888) 534-4142 for an exact quote on your door.
Opener Repairs: A Different Kind of DIY Question
Openers sit at the easier end of the DIY spectrum for some tasks and the harder end for others. The distinction is whether the fault is software-side or hardware-side. A remote that won’t pair is a different animal from a motor that runs but doesn’t move the door.
Safe to do yourself:
- Reprogramming remotes: a documented sequence on every brand. If your LiftMaster remote lost its pairing after a power outage, we see this all the time and it’s a two-minute re-pair.
- Replacing the backup battery: most openers have a battery compartment accessible from the outside of the unit.
- Adjusting travel limits: if your door doesn’t close all the way and the mechanical linkage is fine, the limit setting is the cause. The manual covers it.
- Replacing photo-eye sensors: swap the sensor as long as the opener is unplugged. The wiring is low voltage.
Where it stops being DIY:
- Drive belt or chain failure: replacing the drive train means disconnecting the motor from the door, which means balancing the door and opener together. That’s a technician job.
- Logic board replacement: modern openers coordinate safety sensors, travel limits, and smart-home modules through one board. A board swap on a Chamberlain or Genie unit is doable but only if you match the exact part number and reset every downstream setting.
- Smart-home integration that won’t connect: the fix is usually a firmware issue or a sensor conflict, and it’s a remote troubleshooting job, not a component swap.
- Replacement of the opener itself: mounting, alignment, and safety calibration all have to line up with the door weight and the track geometry. This is scheduled work, not a same-day swap.
If the opener is at the end of its useful life and you’re considering replacement, plan for it. Blackwell’s Hillsboro installation work is measured and scheduled, with a free measure and a written price upfront rather than a same-day promise.
Hillsboro Conditions That Affect Your Door
Hillsboro’s climate and housing stock shape what fails on a garage door and how fast. A door that gets regular rainfall, cool nights, and warm afternoons cycles through more temperature swings than the door manufacturer’s warranty manual probably calls out. That matters for what you should inspect and when.
What to watch for in the area:
- Spring cycle life shortens with thermal swings. A door over an unheated garage can swing nearly 40 degrees between a cool morning and a warm afternoon in spring, and each swing works the spring through a full cycle. Springs on Hillsboro homes tend to wear closer to their rated cycle count than springs in a milder climate.
- Rain-driven moisture on the bottom seal and hinges. Water that ponds along the threshold and splashes onto hinges accelerates rust on lower hardware. Lubricant on the hinges twice a year is cheap; replacing hinge plates or worse is not.
- Winter ice on the threshold. The panel alignment and bottom seal rubber take the pressure when a door is forced against an ice-locked threshold. Winter is when we see more misalignment complaints than any other season.
- Older Hillsboro homes with recent door replacements. A lot of the housing stock around the downtown core and near the MAX line has original single-car garages with doors that have been swapped for modern insulated panels. Those doors weigh more than the original track hardware was rated for, which shows up as roller and hinge wear long before the door is “old.”
- Newer construction east of town. Doors installed on newer homes tend to be insulated panels with heavier hardware. Those systems benefit from a diagnostic visit at the five-to-seven-year mark to check balance, spring tension, and hinge wear rather than waiting for a failure.
Whether you’re over by Jackson Bottom or in one of the newer subdivisions off Cornelius Pass Road, the pattern holds: the door is a mechanical system that responds to its environment. If you’ve been putting off maintenance, a visit to check the balance and hardware is a better investment than a tool jacket full of winding bars you’ll use once.
Common Mistakes to Avoid
- Forcing a door with a broken spring using the opener. The opener will try to lift the door unassisted and either strip the drive or burn the motor. Disconnect the opener and leave the door closed until a technician can look at it.
- Improvising tools for spring work. Screwdrivers, pry bars, and pipe sections are the single most common cause of a home spring injury. Use winding bars rated for the spring or don’t touch the spring.
- Ordering a spring by door width alone. Springs are matched to door weight and cycle rating, not just width. A spring too light or too heavy for your door will work for a while and then cause binding, uneven travel, or a stripped cable.
- Adjusting the close force to make a binding door close. Raising the force setting to overcome friction in the track masks a track alignment or roller problem and puts the door’s safety reverse out of spec. Fix the mechanical cause, not the symptom.
- Using the wrong lubrication. White grease, WD-40, and general-purpose oils attract grit and dust on this hardware. Use a garage door lubricant designed for the purpose, applied to hinges, rollers, and bearings.
- Ignoring the annual balance check. A door that binds, sits crooked, or takes an extra second to reverse is doing something before it fails outright. A balance check once a year catches most of these before they become a service call.
- Assuming a non-approved conversion kit is a cost-saver. As covered above, an off-spec spring affects the insurance position on later failures. Matching the original specification is not a premium, it’s the baseline.
When to Call a Professional
Call a professional when the task involves a spring, a lift cable, the track alignment, a panel replacement, or a door that sits crooked at rest. Call a professional when the opener runs but the door doesn’t move, or when the safety reverse fails a hand test. Call a professional when you’re not sure which side of the line a task falls on. None of those are situations to gamble on.
Blackwell Garage Door Repair offers free estimates in Hillsboro on any repair, opener issue, or new installation. Our technicians credential across the eight major residential brands – LiftMaster, Chamberlain, Genie, Clopay, Amarr, Wayne Dalton, Craftsman, and Raynor – so diagnosis works with what’s on the door, not against a preferred replacement. Call (888) 534-4142. We answer 24/7 with fast dispatch from 7am to 7pm, Sunday through Friday.
Frequently Asked Questions
No. Replacing a torsion or extension spring yourself is the single task in garage door work where the failure mode is serious injury, not a stalled repair. A wound torsion spring holds 150 to 200 pounds of stored torque, and winding it off without a proper rated winding bar and training puts a hand directly in the release path. Call (888) 534-4142 – estimates are free.
Lubricating the hinges, rollers, and torsion bar bearings. It costs under $20 in lubricant, takes ten minutes, and extends the life of both the hardware and the spring. Second best is replacing the bottom weather seal, which is a $20 to $40 part and a screwdriver-and-pull job. Call (888) 534-4142 if you want a professional balance check on top of it – estimates are free.
Not usually. If the motor hums and the door stays put, the fault is in the drive train or the door’s balance, and those have to be diagnosed together. A binding door that the opener can’t lift is a spring or track issue, not an opener issue. Call (888) 534-4142 and we’ll diagnose it – estimates are free.
No. The price is quoted and agreed in writing before any work starts, and that written estimate sets the final price. A free estimate visit identifies the actual fault, and the number on the estimate is the number you’re billed. Call (888) 534-4142 for an exact quote on your door.
Permit rules for structural or exterior changes vary, so ask the city’s building department directly before scheduling any structural work. For a like-for-like spring, cable, or opener repair with no structural change, permits are typically not required. When in doubt, ask the city. Call (888) 534-4142 and we’ll walk you through what the work involves.
Only if you’re comfortable with mounting, alignment, and safety calibration – which is a lot more than wiring. A replacement opener has to be aligned to the door’s weight and track geometry, and the safety reverse has to be verified after the swap. This is scheduled work, not same-day. Call (888) 534-4142 for a free measure and written price.
The Bottom Line
The DIY-versus-professional question isn’t about whether you’re capable of garage door work. It’s about which parts of your door carry enough stored energy that a mistake is dangerous or financially expensive to undo. Bottom seal, lubrication, remote pairing, and sensor swaps belong to the homeowner. Springs, cables, track realignment, and panel replacement belong to a trained technician, and no shortcut changes that. In Hillsboro, the combination of thermal swings, rain-driven moisture, and heavier modern doors makes the case for a proper diagnostic and a written estimate even stronger than in a milder climate. Do the easy work yourself. Call the specialist for the rest, before an attempt turns into a bigger repair.
Call (888) 534-4142 for a free estimate. We answer 24/7. Fast dispatch from 7am to 7pm, Sunday through Friday. We’re closed on Saturday. The price is set by the written estimate, agreed before any work starts.
Written by the team at Blackwell Garage Door Repair.
See the difference
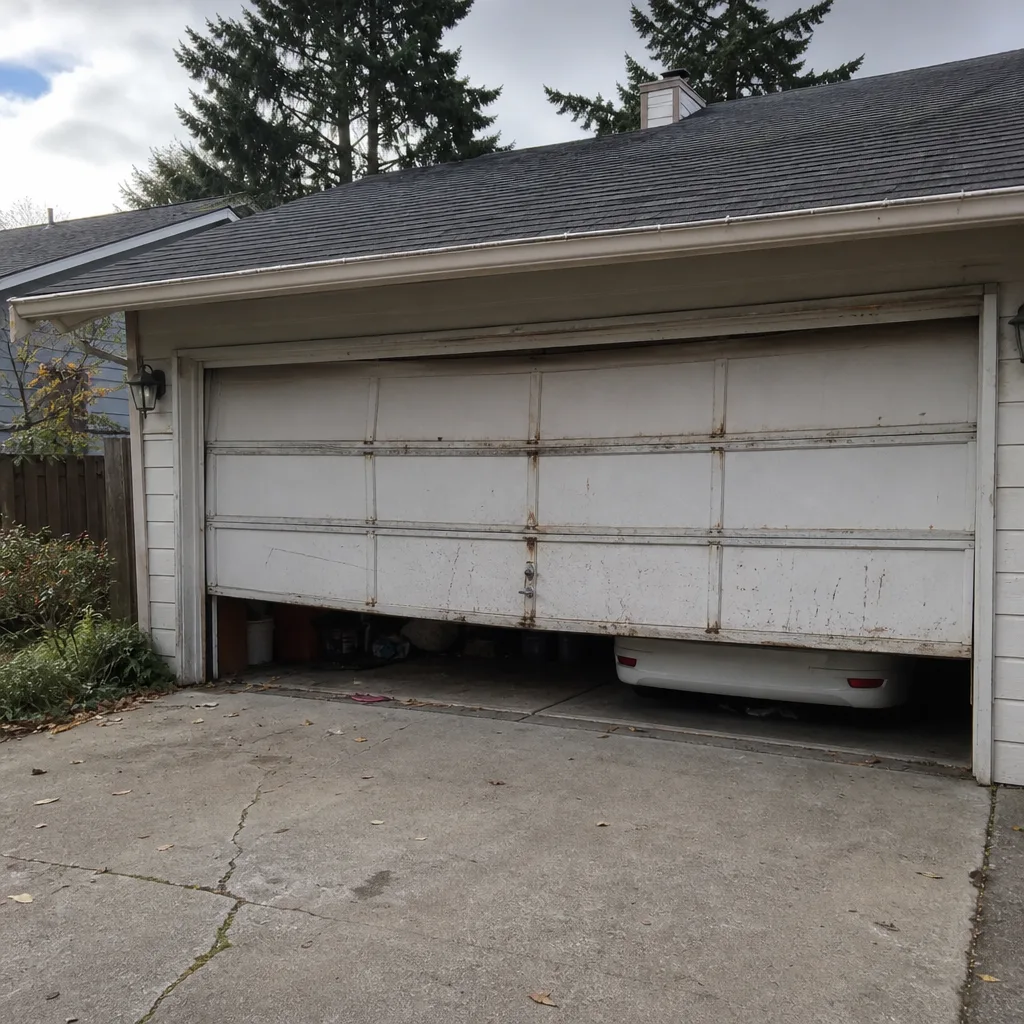 Before
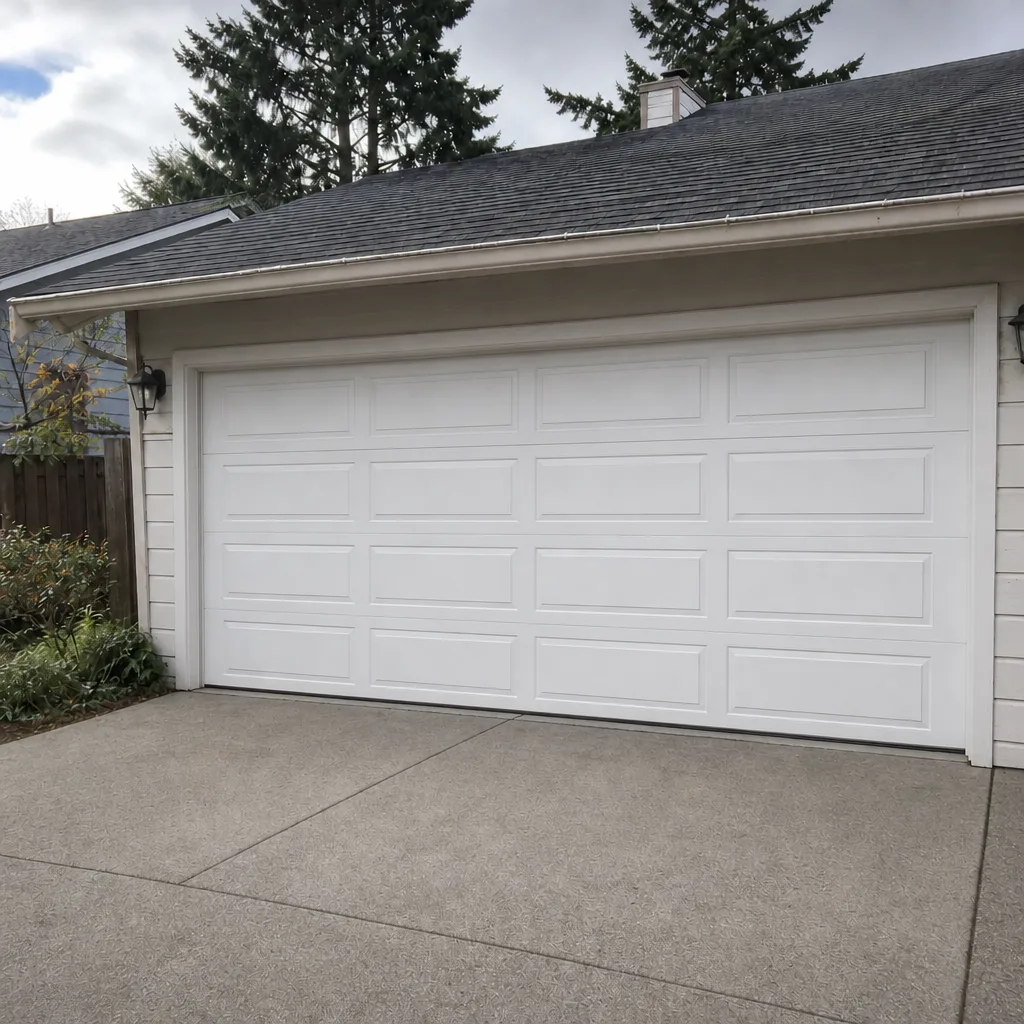 After
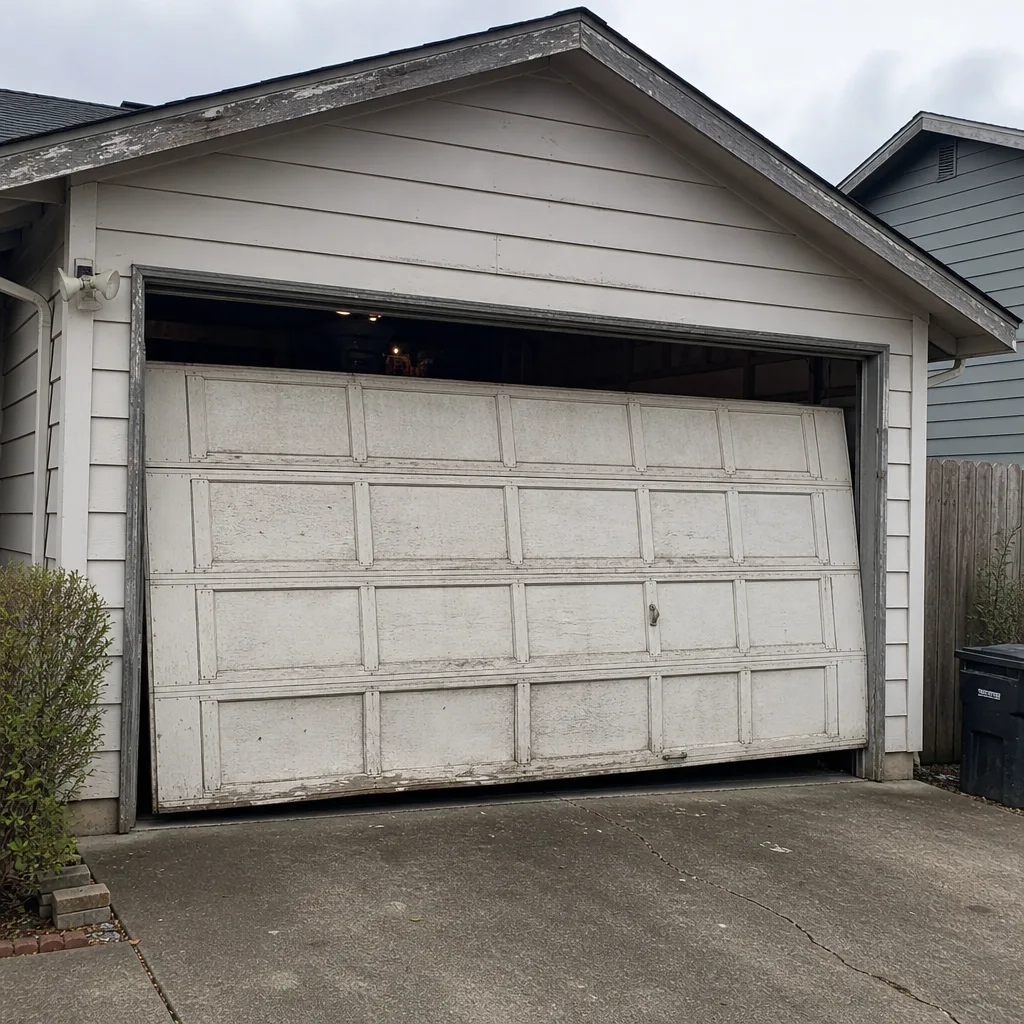 Before
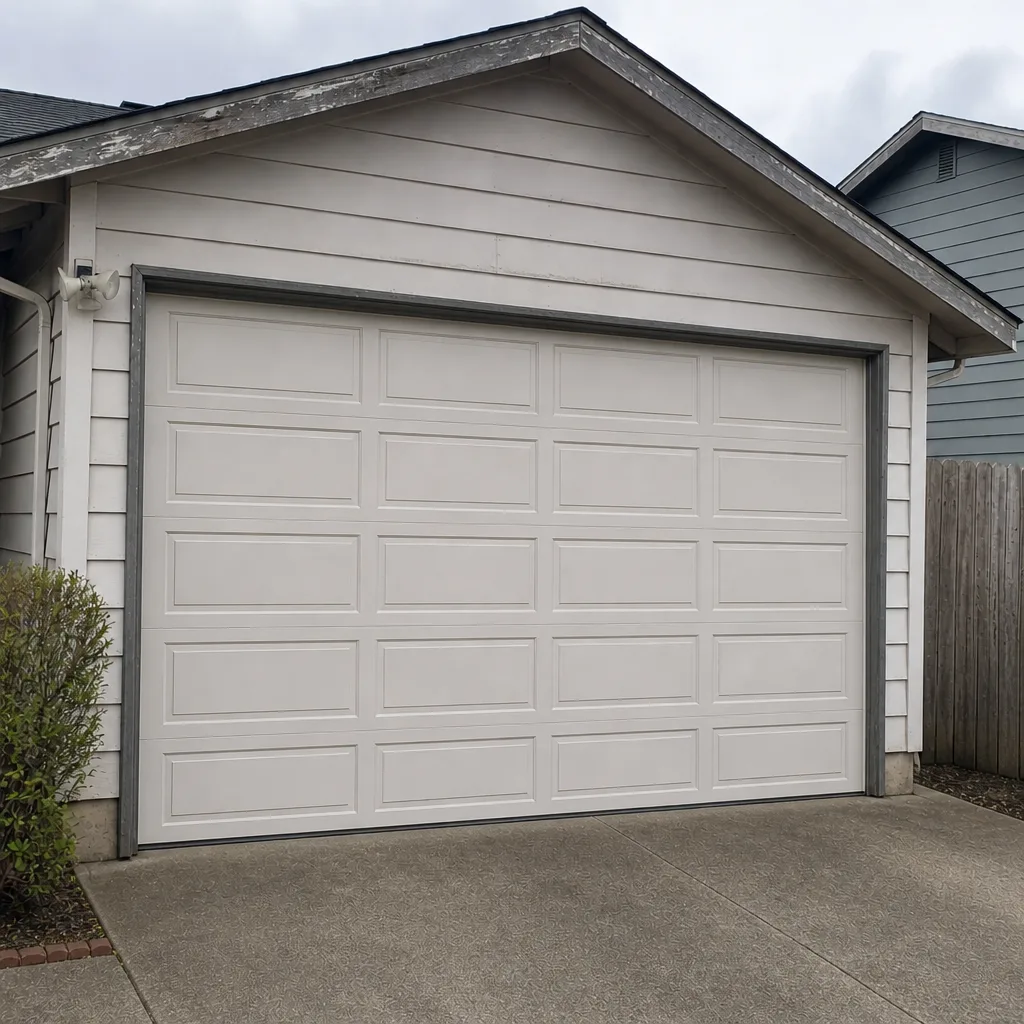 After
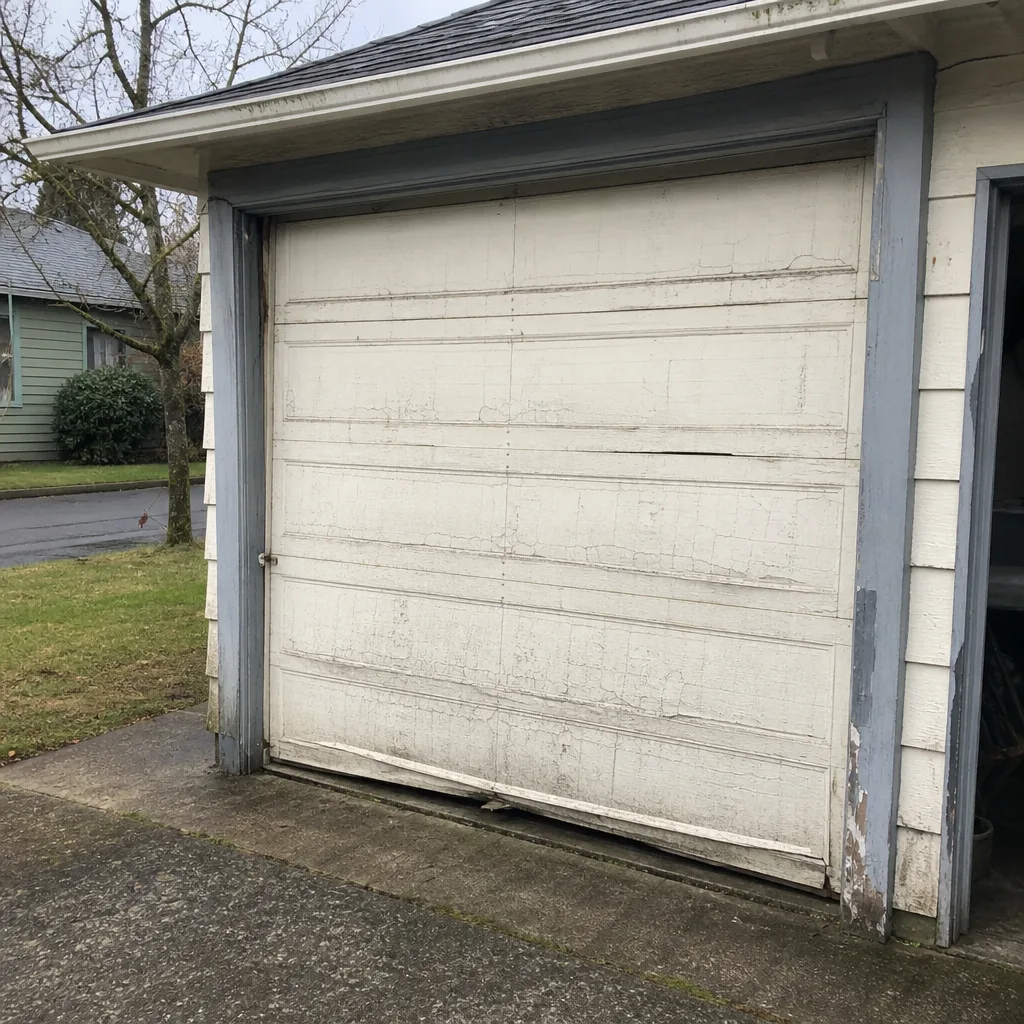 Before
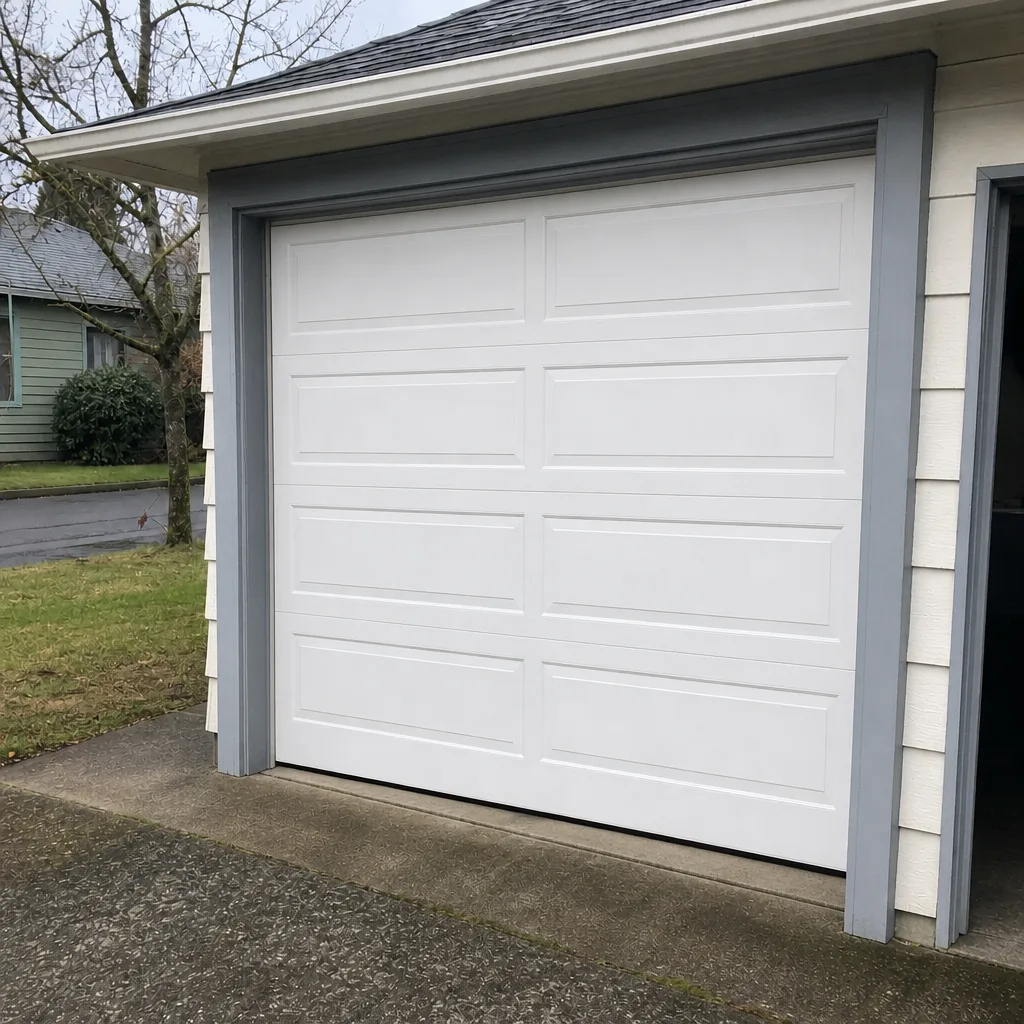 After